Outlook (Imap)
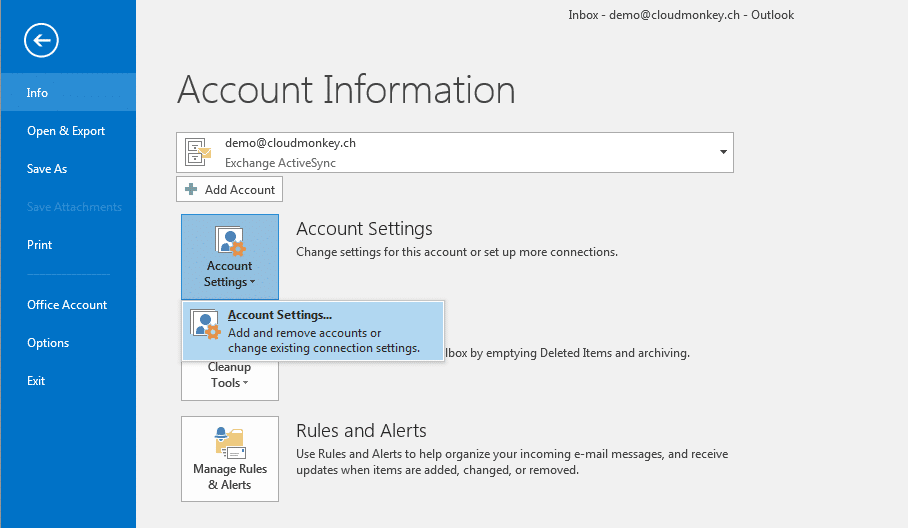
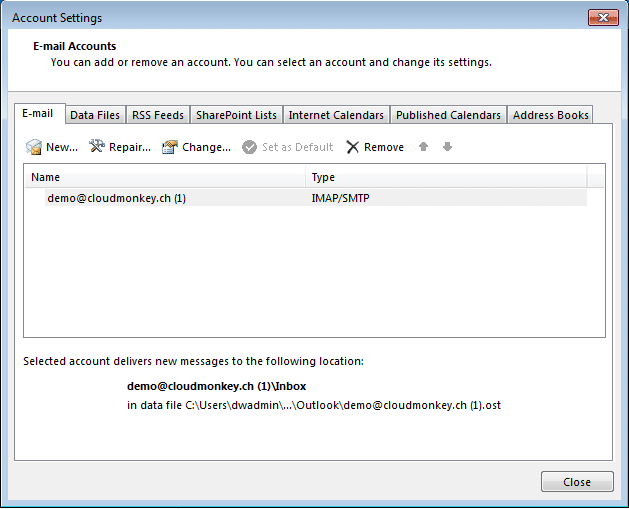
To add a new IMAP account in Outlook go to File –> Account Settings
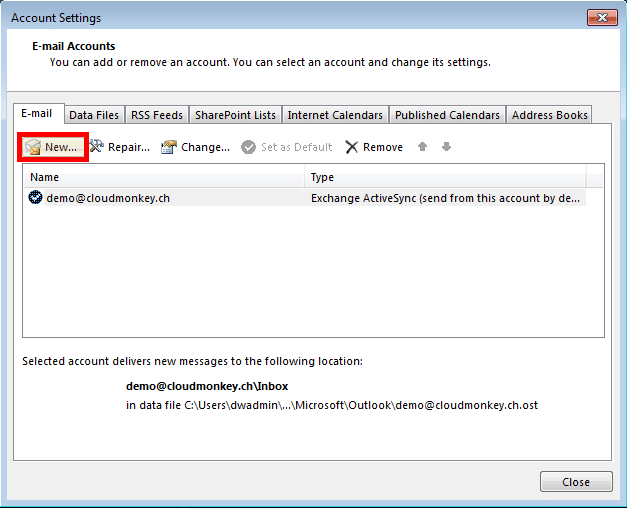
In Email account administration window click New
Choose Email account
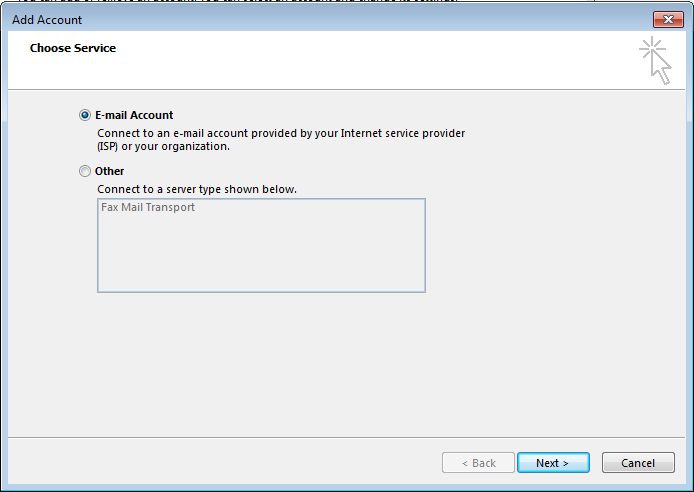
Click Next.
Fill in your name, your email address and your password.
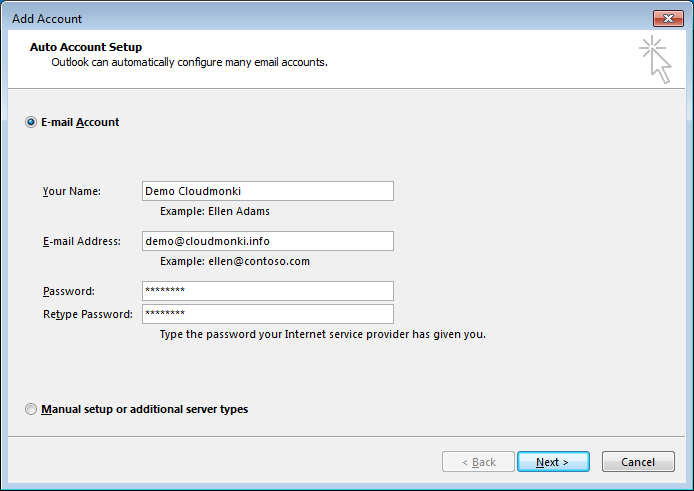
Click next, all additional information should be found automatically.
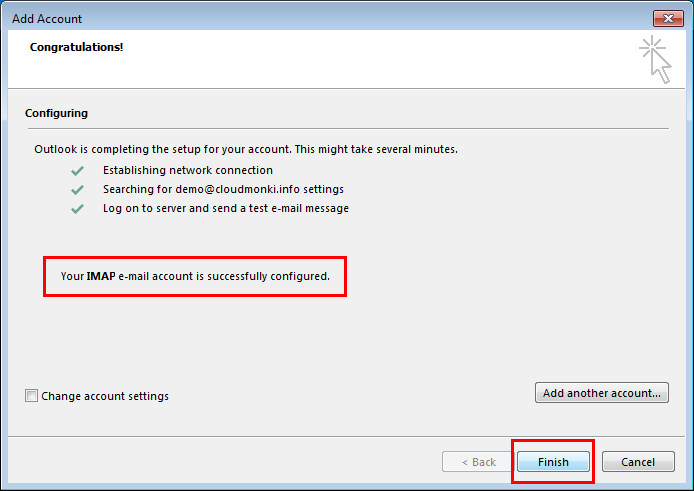
You’re done, click Finish and your Email Account is ready to use!
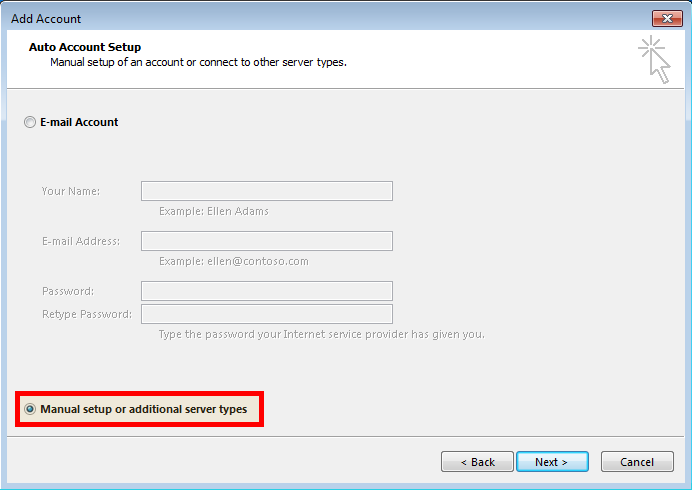
When for some reason the automatic discovery of your email settings will not work then choose “Manual setup”.
Choose “Pop or IMAP”
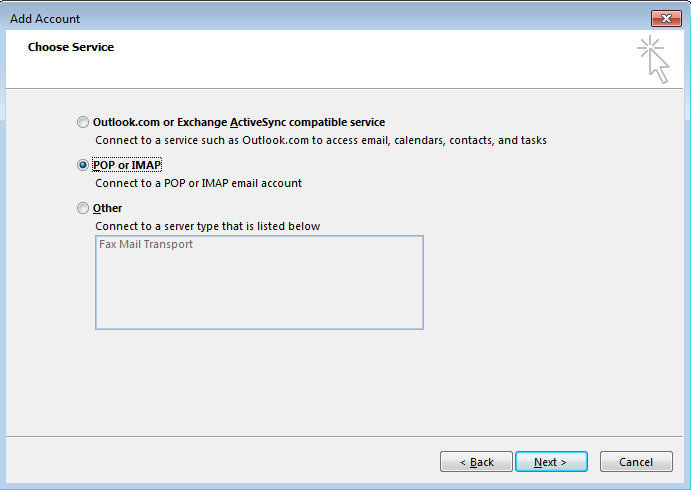
Click Next.
In the next window setup your connection details.
Important: Your Imap Server has the name “imap.YOURDOMAIN.COM”, your smtp server has the name “smtp.YOURDOMAIN.COM” where YOURDOMAIN.COM must be substituted with the domainname where your Cloudmonkey cloud instance is running on.
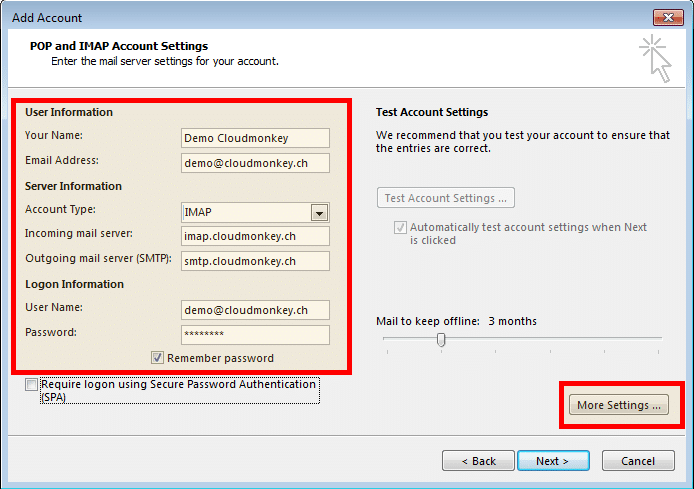
Then click on More Settings
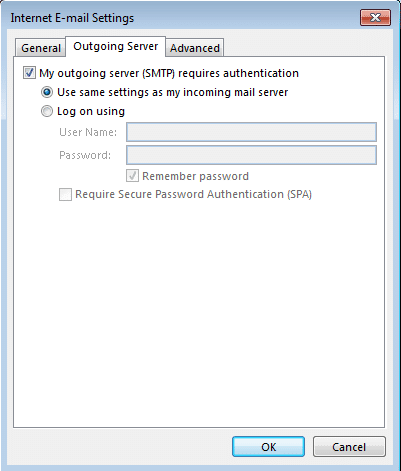
In the “Outgoing Server” tab activate “My outgoing server (SMTP) requires authentication”
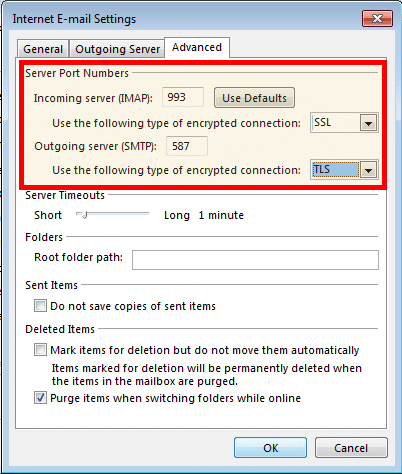
Then go to the “Advanced” tab
Set the SSL/TLS ports and settings for incoming and outgoing emails
Click OK, then click Next.
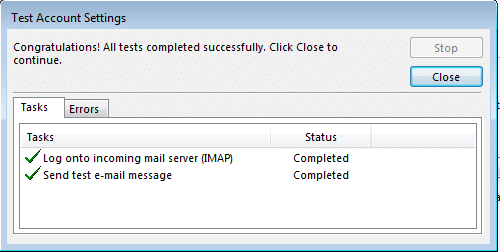
The test must be successfull.
Click close and then finish.
Click close
You’re done!