
Android (Caldav)
Android (Caldav)
This tutorial describes how to setup a Caldav calendar on Android mobile devices. On Android Caldav is not supported natively, but there are existing a lot of nice apps which fullfill our needs.
One of this app is the Caldav app from Marten Gajda, you can find it in the Google Play Store
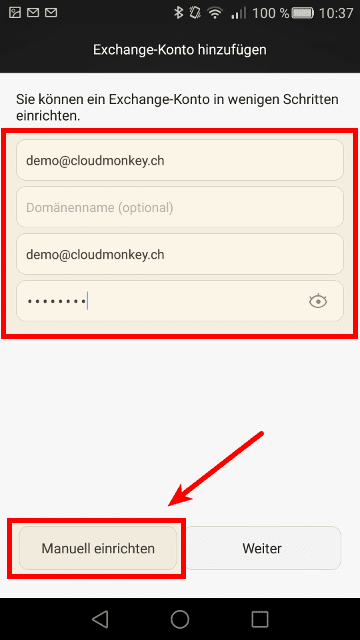
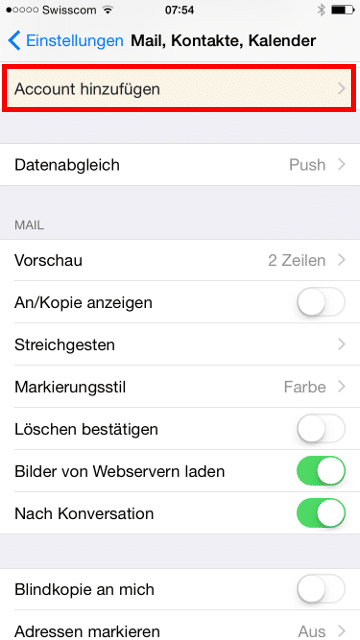
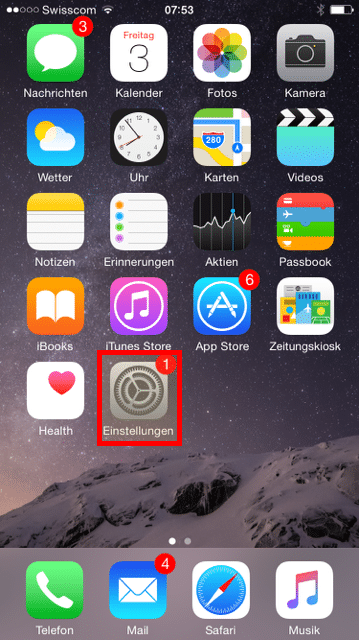
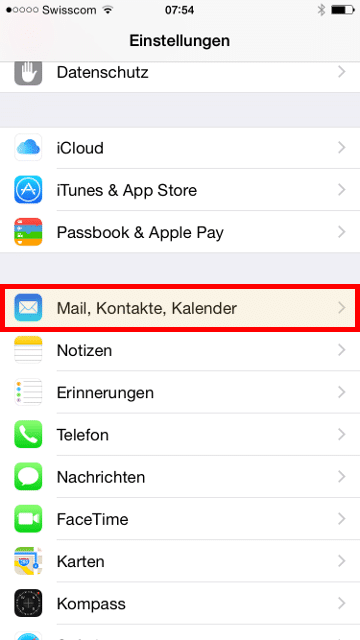
To start we need to create a new account. Go to the settings panel
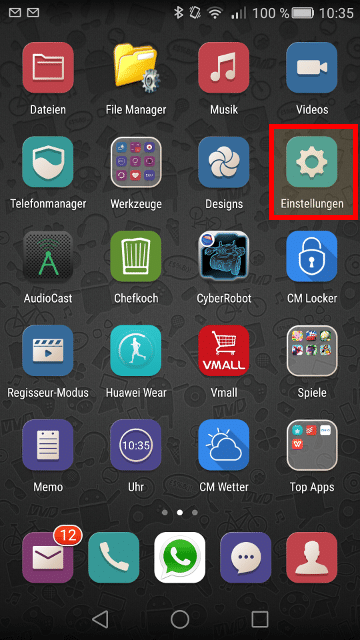
Go to the accounts management

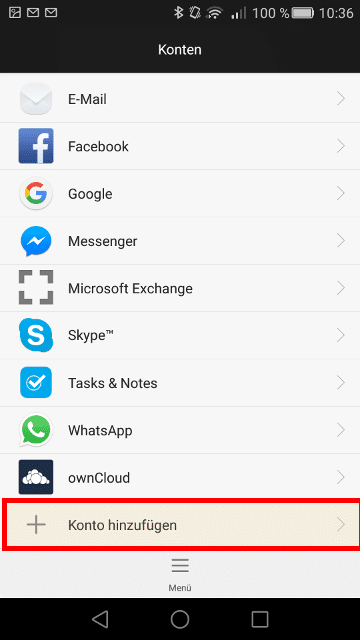
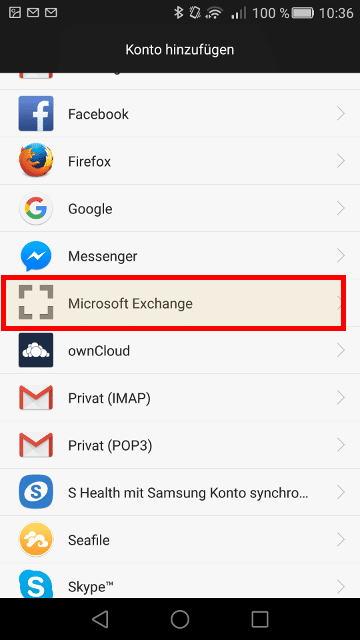
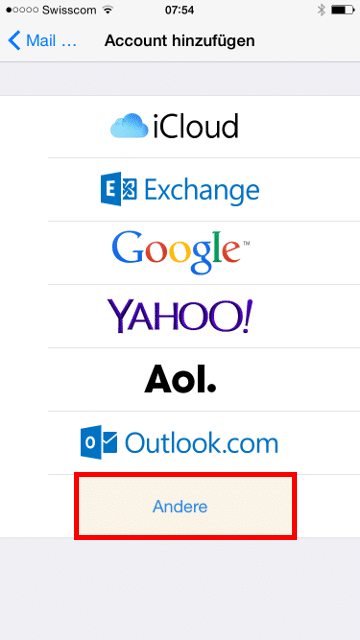
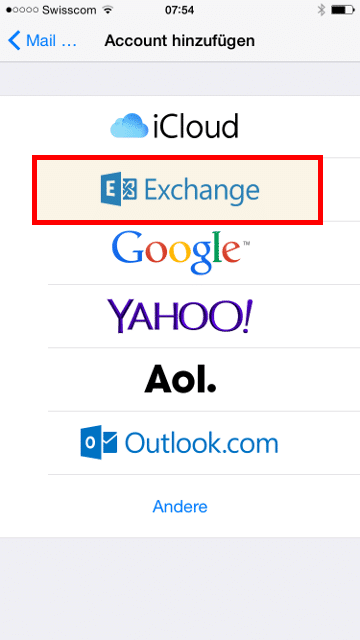
Select “Add account”
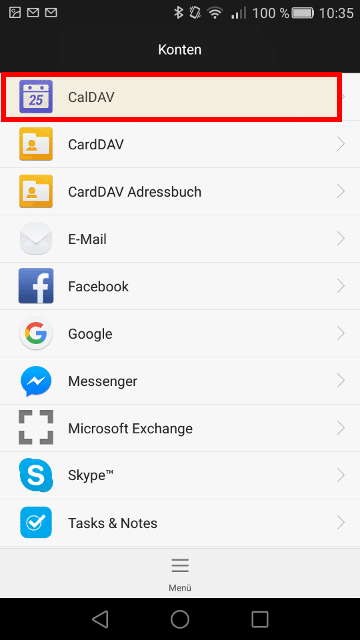
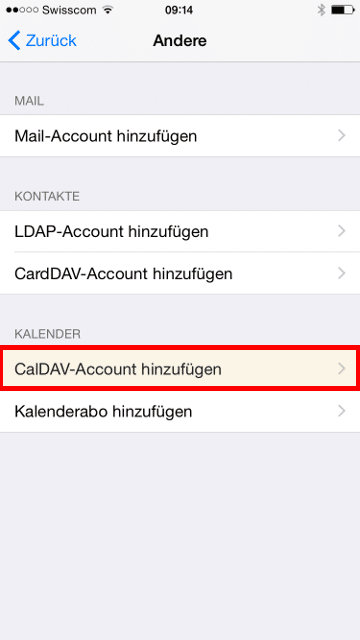
Select “CalDAV” as account type
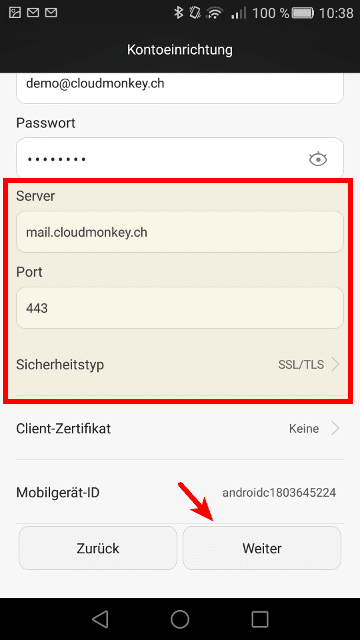
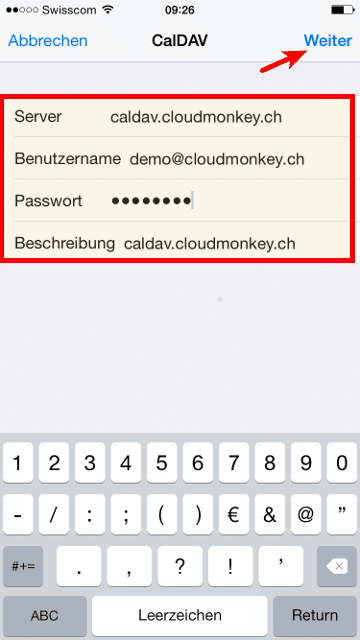
Insert your Caldav server name, your username and your password
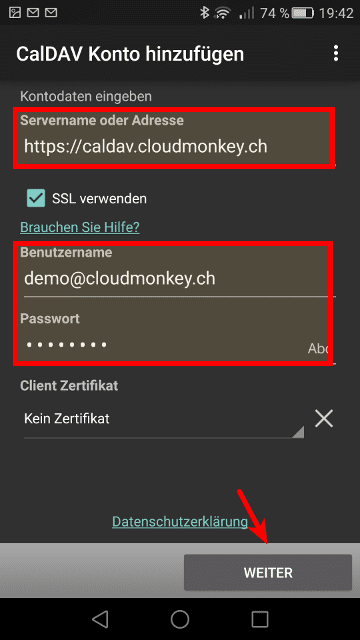
Then click Next.
When your credentials are inserted correctly you will see the following screen.
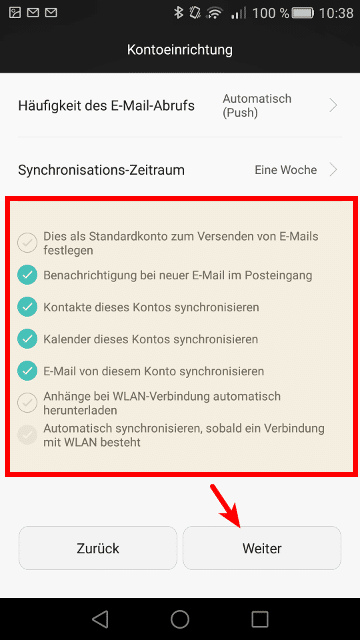
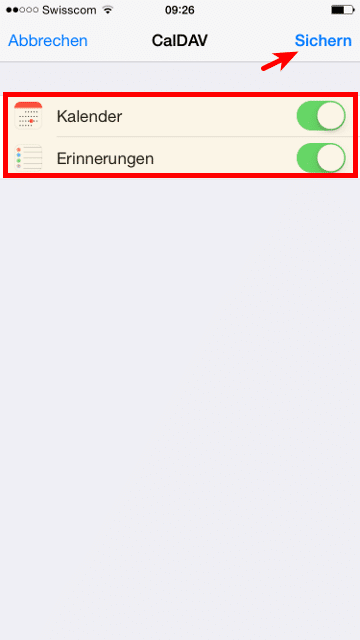
Please select now which Calendars you want to synchronize with your mobile device.
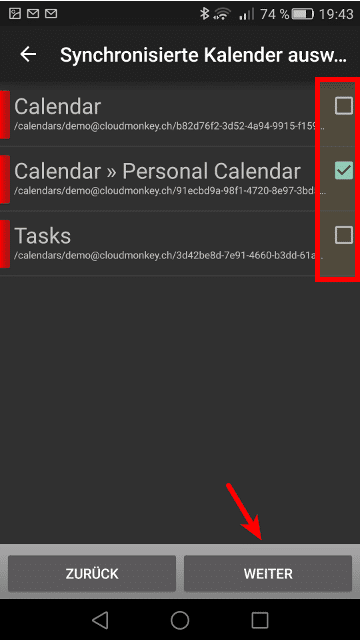
Click Next.
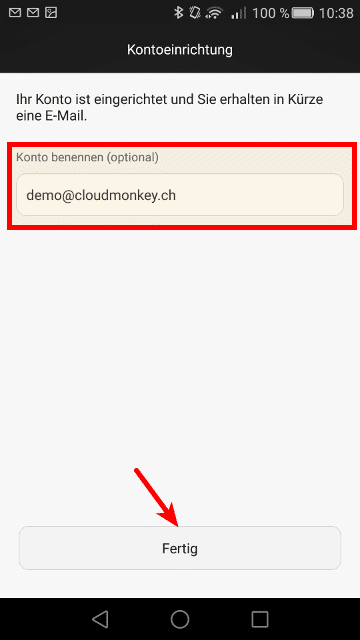
Choose a name for the new created account, then click Finish!
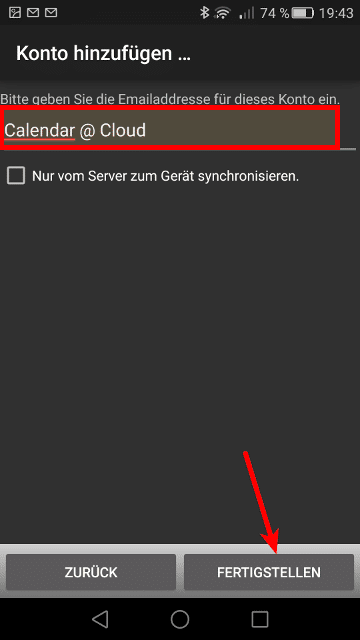
Your new Caldav account is created.


Recent Comments