31 Aug 2017

    Outlook (Exchange)

    Outlook Exchange


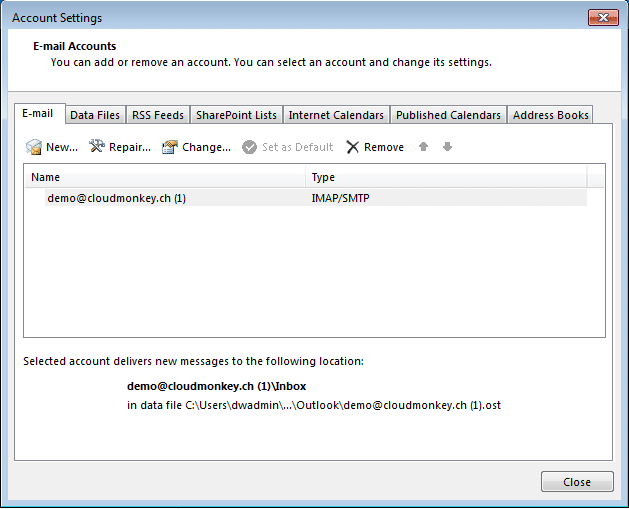
    In this section you will be informed how to setup Outlook with Cloudmonki as Exchange Server. As an alternative you can setup Outlook with IMAP. The difference between Exchange an Imap is, that Exchange will synchronize Email, Contacts, Calendars, Task and Notes. Imap in contrast only Email.
    When starting a fresh installation of Outlook we have to setup a new Account.
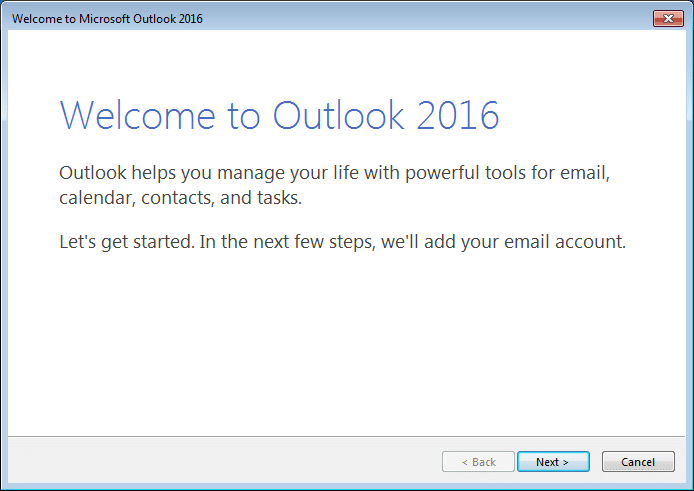
    Click Next.

    Click Next.

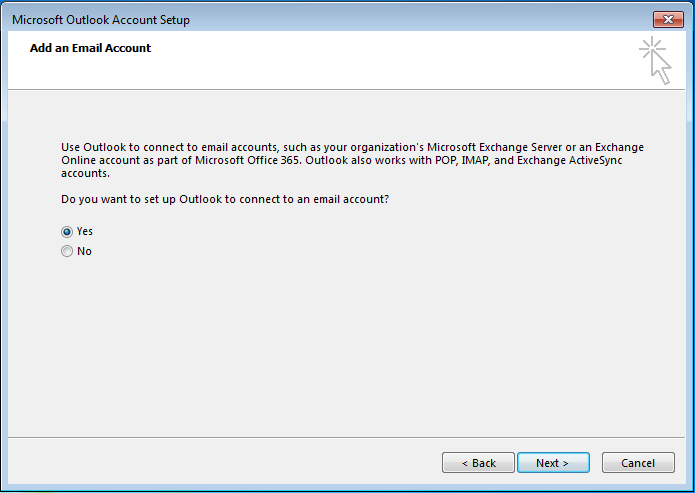
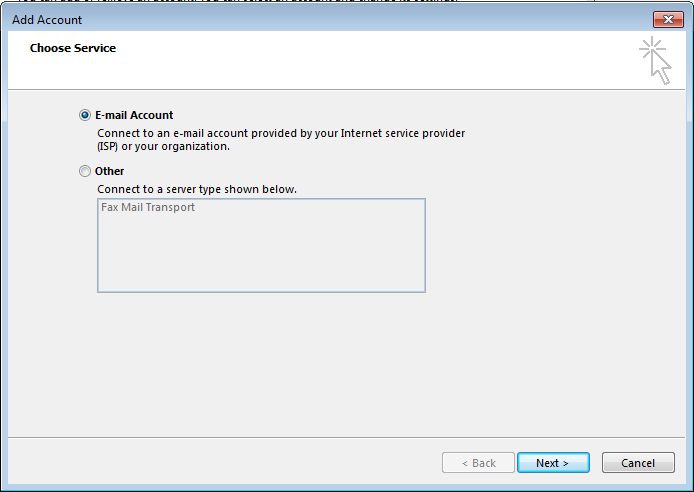
    On next screen select “Manual Setup”

    Click Next.

    Select Exchange Account
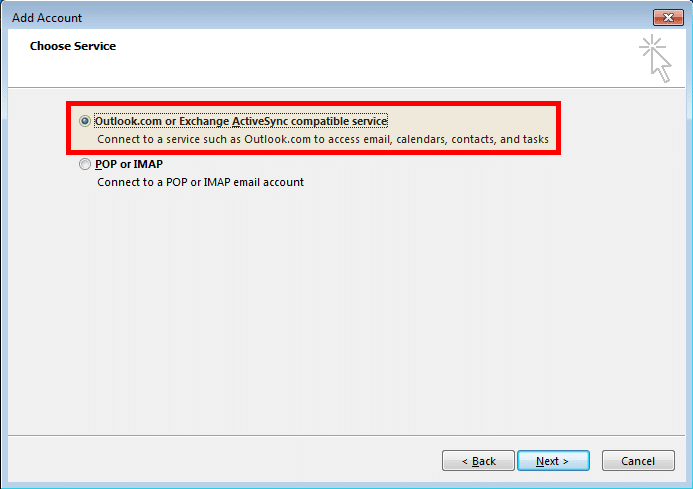
    Click Next.

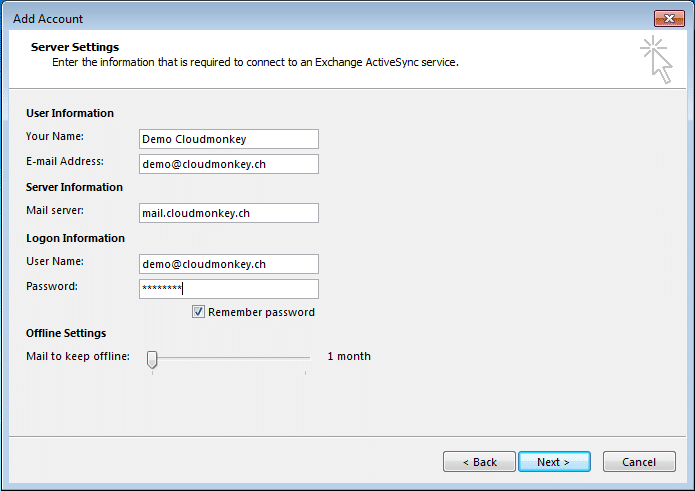
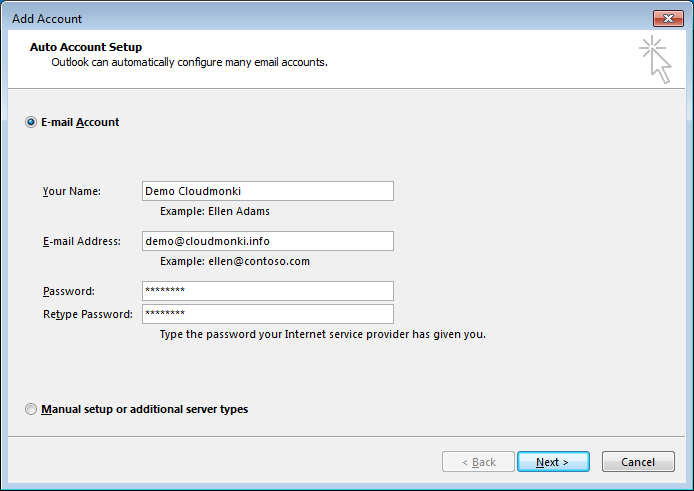
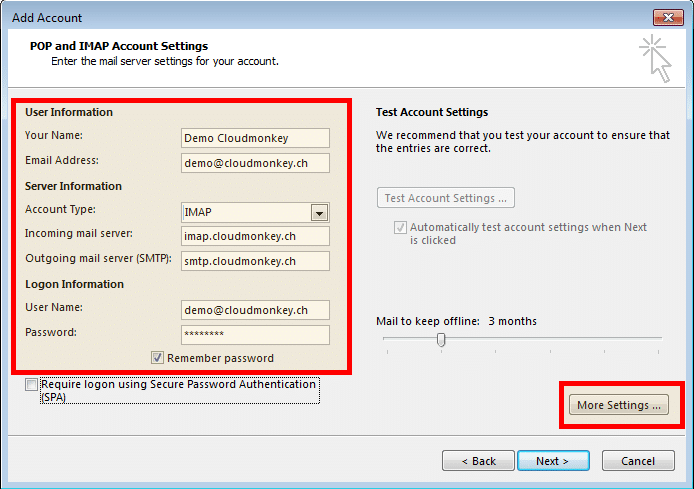
    Setup your personal informations.

    Important: Your Exchange server has the name “mail.YOURDOMAIN.COM” where YOURDOMAIN.COM must be substituted with the domain name where your CloudMonki cloud instance is running.
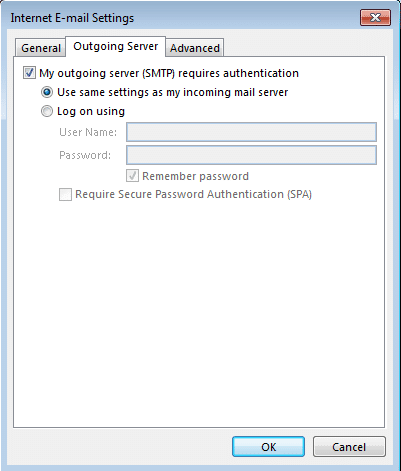
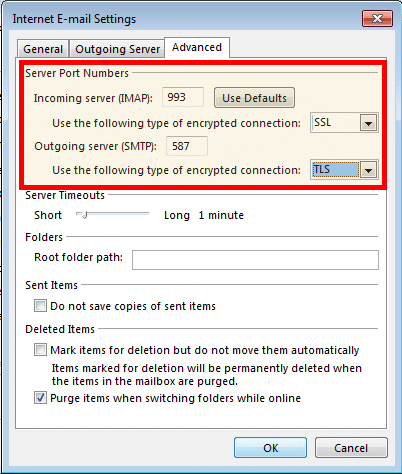
    Click Next.

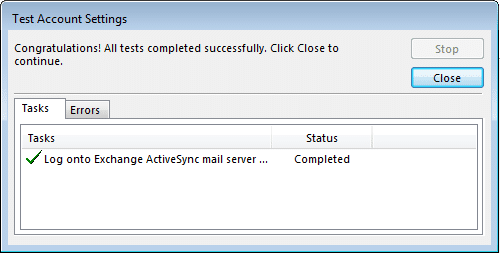
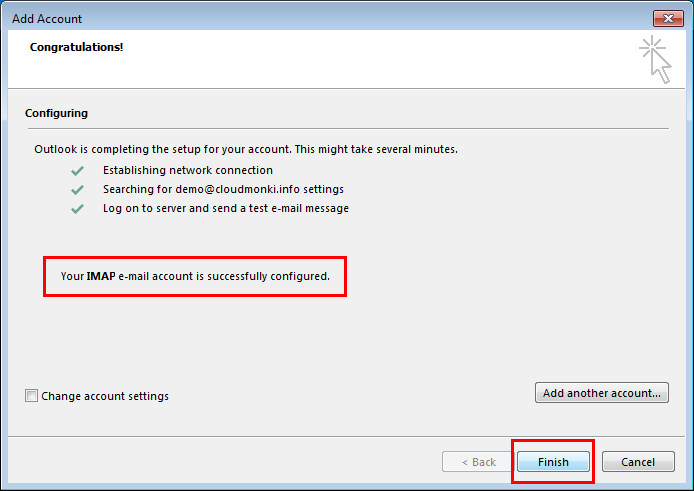
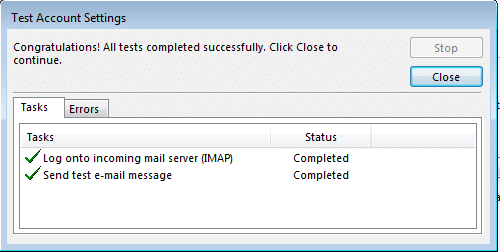
    Be sure your test run is successful as showed in the picture above.

    Click Close and then Finish.

    You’re done!

    Share this on
    14 Jan 2018

    Outlook (Imap)

    Back to main menu


    Outlook (Imap)


    To add a new IMAP account in Outlook go to File –> Account Settings

    In Email account administration window click New

    Choose Email account

    Click Next.

    Fill in your name, your email address and your password.

    Click next, all additional information should be found automatically.

    You’re done, click Finish and your Email Account is ready to use!


    When for some reason the automatic discovery of your email settings will not work then choose “Manual setup”.

    Choose “Pop or IMAP”

    Click Next.

    In the next window setup your connection details.

    Important: Your Imap Server has the name “imap.YOURDOMAIN.COM”, your smtp server has the name “smtp.YOURDOMAIN.COM” where YOURDOMAIN.COM must be substituted with the domainname where your Cloudmonkey cloud instance is running on.

    Then click on More Settings

    In the “Outgoing Server” tab activate “My outgoing server (SMTP) requires authentication”

    Then go to the “Advanced” tab

    Set the SSL/TLS ports and settings for incoming and outgoing emails

    Click OK, then click Next.

    The test must be successfull.

    Click close and then finish.

    Click close

    You’re done!

    Share this on
    31 Aug 2017

    Thunderbird (Imap)

    Thunderbird Mailclient (IMAP/SMTP)


    Install latest version of Thunderbird. For Linux systems you can install it directly from repository, for Windows and Mac please download it from here

    Start Thunderbird and open Tools -> Account settings

    Click on Account Actions -> Add mail account

    Fill up primary data as Name, email address and password, then click on Continue

    Now Thunderbird is searching for the right settings. Probably you have to complete this data, it should look like in the following picture

    Please pay attention: you should change the domain cloudmonkey.ch with your own domain!

    Now click on Re-test. If you have entered the correct data, the button Done will be activated. Click it and the account will be created.

    Click ok, your’e done!

    Share this on
      • No categories

      © 2019 CloudMonki. All rights reserved. | Design by Dawning Digital

      Top