27 Oct 2019

    CRM Email Import – Customer Contact History and Archiving

    CRM Email Import – Customer Contact History and Archiving


    This tutorial describes the CRM email import of emails from your personal mailbox and how they are automatically linked to records in CRM. In addition, the filter functionality is explained, with which you can filter which emails from your mailboxes should be considered.

    Creation of the email box

    Every CRM user has to carry out this activity if you want the emails of the employee to be linked to the sales opportunities, prospects etc.

    PS. It is also possible to create group email accounts and assign them to a team in CRM. This allows in example a sales team import from a group email account. Each member of the CRM team has access to these emails in the CRM system and the assignment to a lead happens only once!

    This article describes how to integrate a personal email account. For the integration of group email accounts, please contact your administrator.

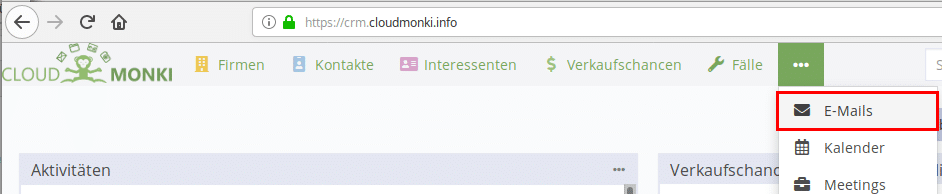
    Open your CRM system via your portal or open directly the URL crm.cloudmonki.info (replace cloudmonki.info with your personal domain) and open the section E-Mails

    CRM - Open Mail Setup

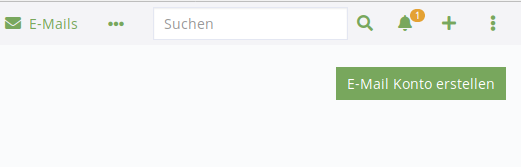
    In the email module you have to choose the menu item “Personal Email Accounts” via the 3 dots.

    CRM Create Mailbox

    Then select “Create Email Account”

    CRM create Mailbox

    In the following mask, please define the following fields

    CRM Email Import

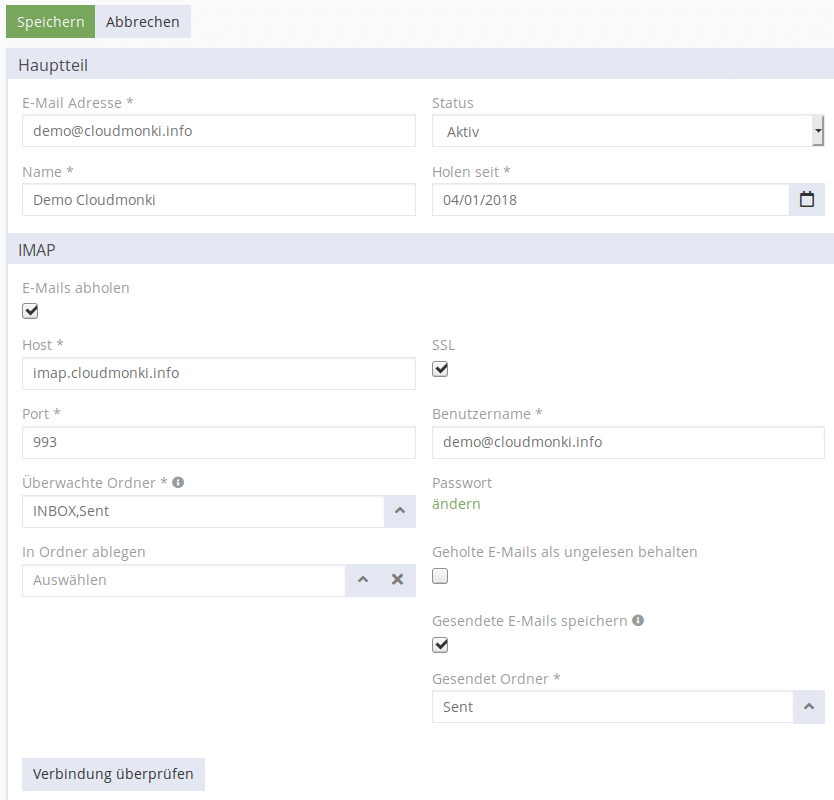
    Fill in the fields as described above with your personal Emailbox data. Replace the domain cloudmonki.info with your personal domain.

    Monitored Folders: Decide which folders of your emailbox should be monitored, all new emails in the selected folders will be imported. Hint: If you want to import only customer-relevant emails into the CRM system, it makes sense to create a folder “Customers” below the inbox on your email server. Move all customer-relevant emails from the Inbox to the new “Customers” folder. Then choose here in the CRM system the import of emails from the folder “Customers”.

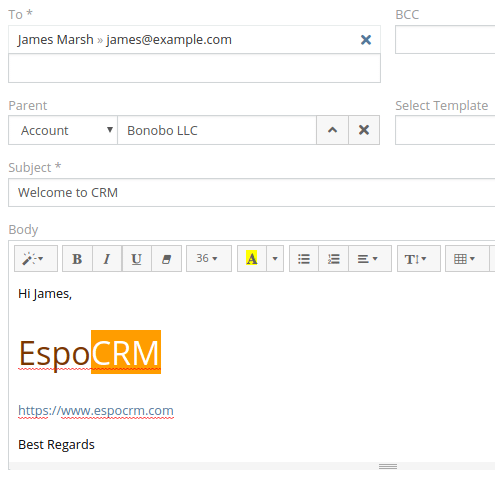
    Store sent emails: Select the mailbox folder where emails should be saved when you write emails directly through the CRM system. This allows you to find the sent mail later among the sent emails in your mail client.

    Once you have made all the settings, you can test the connection by clicking on “Test connection”.

    If everything is OK select “Save” in the upper left corner. The import of emails should begin immediately.

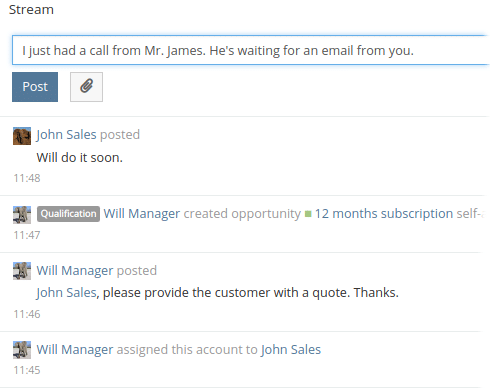
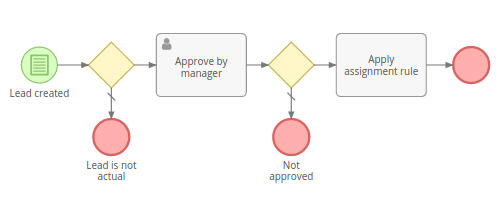
    The CRM system carries out an automatic allocation to sales opportunities and so on. The system compares the email addresses from the incoming emails and the email addresses that you have assigned to prospects and contacts. If the CRM Email Import does not work as desired, please contact your administrator.


    Filters

    Filters serve to e.g. suppress unwanted emails when importing from Email Server.

    After the mailbox has been created in CRM, filters can be created. Click on the plus sign in the “Filter” section.

    CRM Create Filter

    In the following mask you can define which contents should be checked.

    CRM Mail Filter

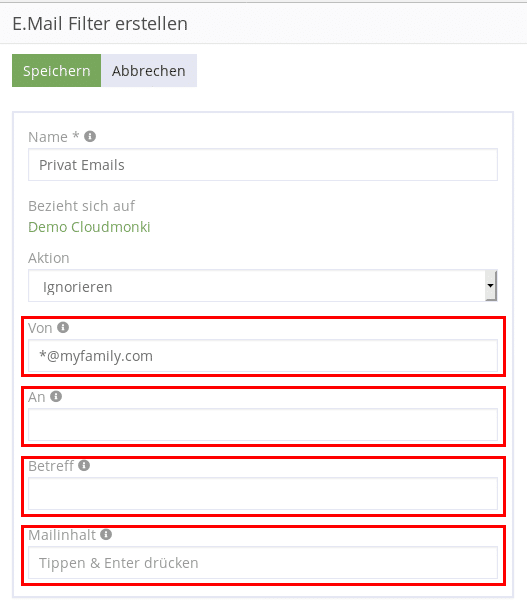
    From: Mails from these senders are not imported.

    To: Mails to these recipients are not imported.

    Subject: Mails with the specified subject will not be imported.

    Body contains: Mails with the specified content will not be imported.

    Remember: Wildcards with * are also possible in each case, like e.g. *@myfamily.com considers all email addresses of the domain myfamily.com.

    After successful definition, click on “Save”.

    Share this on
    17 Jan 2020

    CRM for SMEs – Cloudmonki customer relationship management

    CRM for SMEs – Cloudmonki customer relationship management


    Espo CRM Logo


    This introduction to CRM for SMEs shows you the basic functionalities of ESPO CRM. Cloudmonki is an ESPO CRM integration partner and offers you a simple and complete tool for customer contact management and customer loyalty.

    Find more information about Cloudmonki CRM for SMEs here. You can also find our package prices here.


    Automation of sales processes

    EspoCRM - Automatisierung des Verkaufs

    • Leads. Manage prospects and convert the data into opportunities, companies and contacts when the deal is completed. Everything with 1 click.
    • Monitor sales opportunities, create cash flow forecasts and react in a targeted manner
    • Manage accounts and collect and manage all data and activities centrally.
    • Contacts can be assigned to different companies and other objects, so the necessary contact details are always at hand.


    Calendar

    EspoCRM - Kalender Integration


    Emails

    EspoCRM - Email Integration


    Social tools

    EspoCRM - Activity stream

    • Activity Stream. A timeline shows changes and additions to an object. Notes and comments can also be added.
    • Follow button. A user can follow different objects. So you don’t miss any changes. Self-created objects are followed automatically.


    Customer service

    • Cases. Create and track support support cases.
    • Email to Case. Automatic creation of support cases when receiving emails.
    • Customer Portal. Give your customers access to relevant data.
    • Knowledgebase. Capture knowledge centrally in CRM so that all colleagues can access your knowledge

    Documents


    Quotation and order processing

    Telephony


    Analytics

    EspoCRM - Analytics und Reporting

    • Reports (available in Advanced Pack). Possibility to build individual reports to extract information from the system quickly and easily.


    Workflows

    EspoCRM - Workflow Integration

    • Business Prozess Management (BPM) tool (available in Advanced Pack). Offers the possibility to model and automate business processes.
    • Workflows (available in Advanced Pack). Actions can be triggered when certain conditions are met. Actions available: send email, update record, create new record, create notification, assign record according to specific rules.


    Misc

    Marketing automation


    Customization

    • Layout Manager. Change user interface for detail and list views.
    • Entity Manager. Create custom entities, fields, and relationships.
    • Label Manager. Adjust the field names to your usual internal terms.
    • Extensions. Ability to customize your EspoCRM with installable extensions.

    Administration

    • Data import
    • Teams. Users can be organized in teams.
    • Roles. Access control can be set up on roles or on the individual user.
    • LDAP Integration. Connect your central user administration.
    • Support for different currencies and different languages

    Find more information about Cloudmonki CRM for SMEs here. You can also find our package prices here.

    Share this on
    26 Oct 2019

    Synchronize CRM events with your personal calendar

    Synchronize CRM events with your personal calendar


    This tutorial describes how events such as meetings, calls, or tasks from Cloudmonki CRM can be synchronized with your personal calendar in the Cloudmonki Mail Server.

    In order to activate the synchronization of your CRM events with your calendar, it is first necessary to create a new calendar. This calendar must have the name “CRM”. To start the calendar, log in at https://mail.my-domain.com (your webmail portal).

    Switch to the Calendar area and create a new calendar there. Click on the 3 dots in the top bar and select “Add Calendar”.

    Auswahl 450.png

    Enter “CRM” as name and assign your prefered color.

    Auswahl 452.png

    Save now. Then open the calendar settings again. To do this, select the calendar just created, click on the 3 dots in the top bar again and select “Edit”.

    Click on the “Sharing” tab and then on Add.

    The following mask opens. Here you choose the user system@my-domain.com (change my-domain.com with your real domain) and assign permissions to read, write and delete.

    Auswahl 453.png

    Then save. That’s it! Within the next few minutes, the first events from the CRM system should appear in your new CRM calendar.

    If no events are transmitted, check the instructions again, check if the events in your CRM system are in the past. Should everything be ok please contact your administrator.

    Share this on
      • No categories

      © 2019 CloudMonki. All rights reserved. | Design by Dawning Digital

      Top