This tutorial describes how to share your calendar with colleagues inside your company.
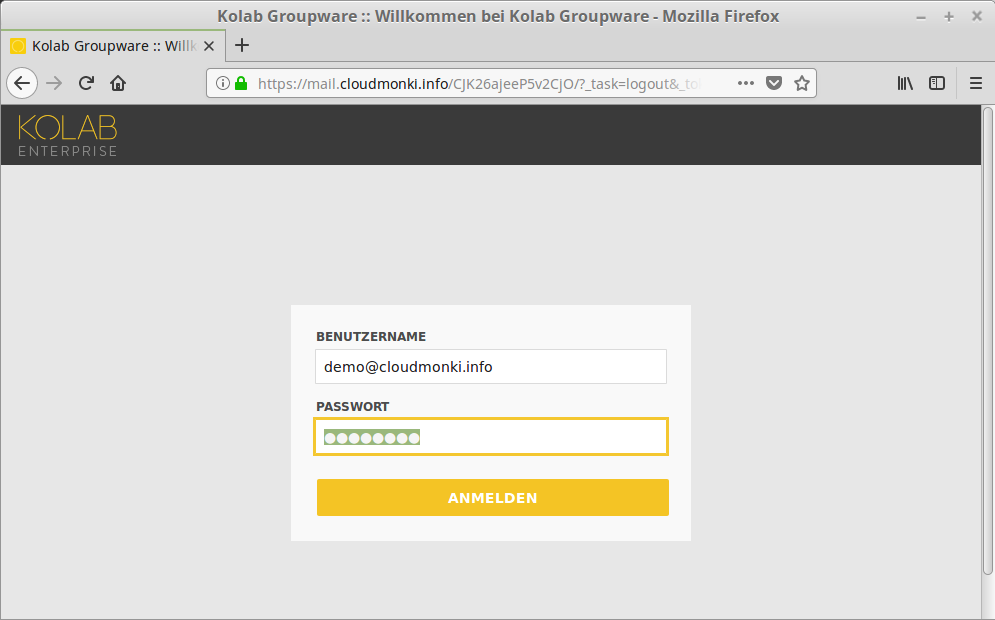
The sharing of calendars can only be done via webmail, it is not possible to share his calendar via Outlook or Thunderbird. Thus, the first thing to do is to log in to the webmail.
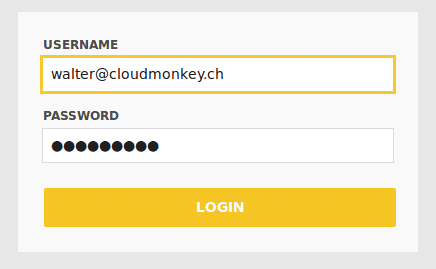
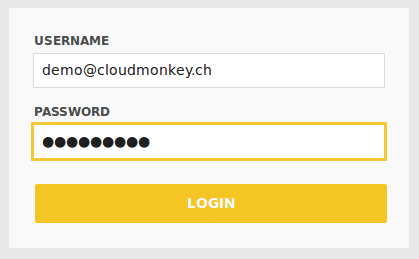
Enter your username and password and click Login.
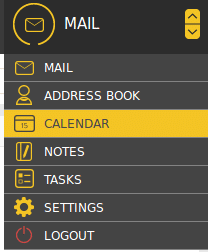
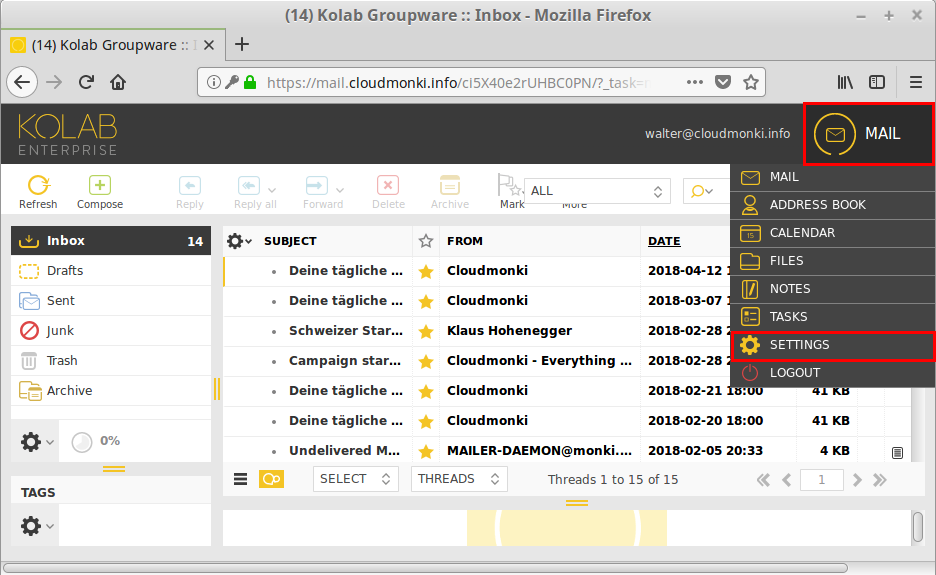
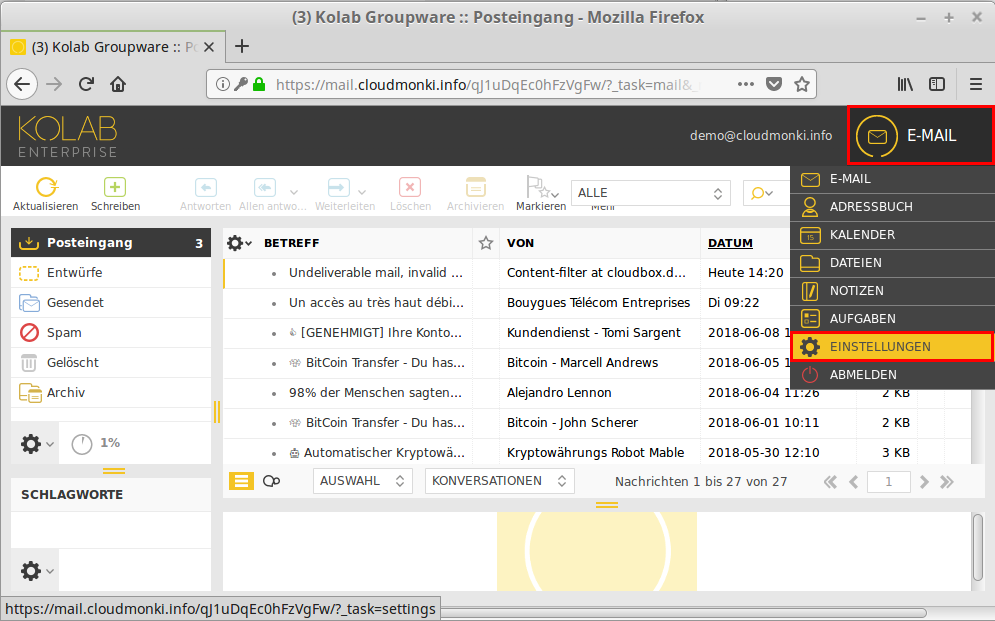
Then select the settings via the menu
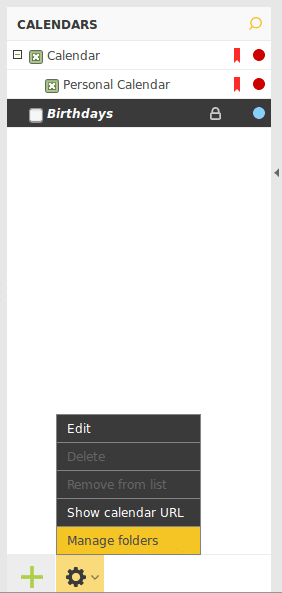
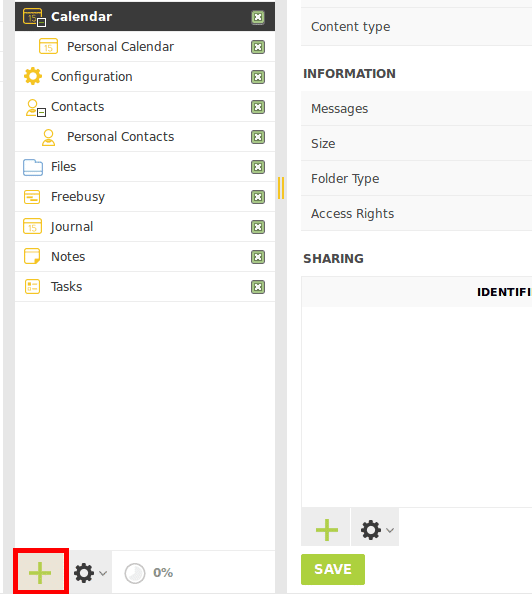
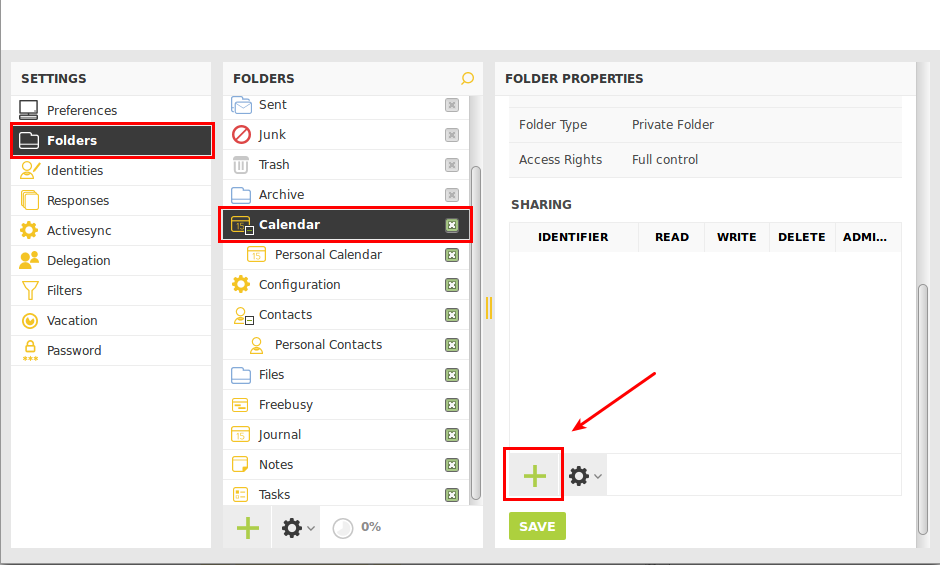
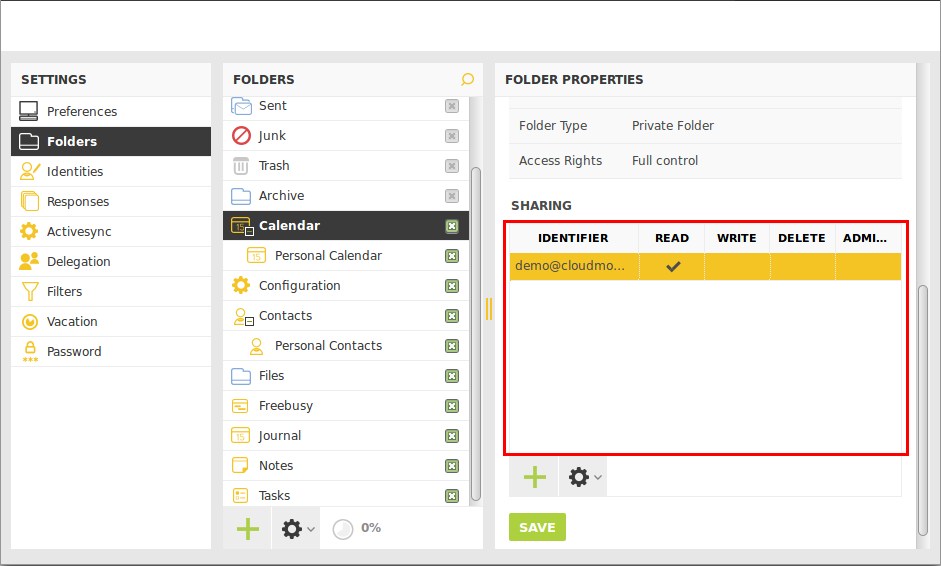
In the settings, select on the left menu entry “Folder” in the tab “Folder” then select the calendar you want to share and then click in the right window on the PLUS sign
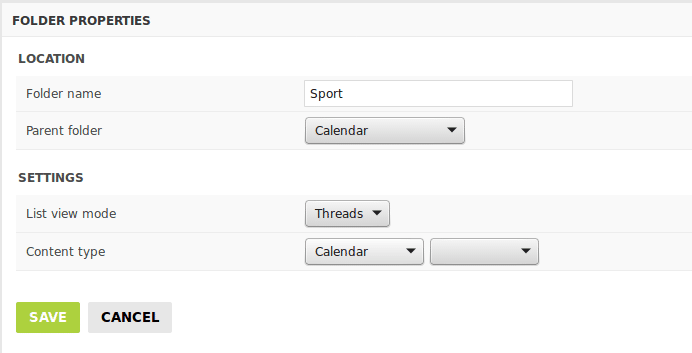
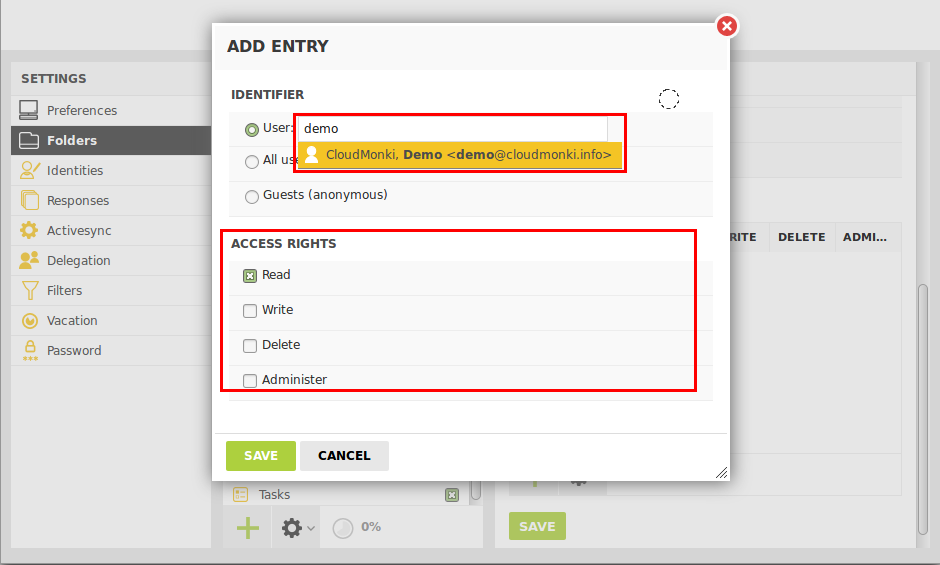
Here now select which employees should get access to your calendar.If you give at least 3 letters, all employees will be listed who have the given letters in the name.
You can also choose whether the selected colleague should receive only reading rights or writing rights on your calendar.After you have made the settings complete the procedure by clicking on “Save”.
Now the calender share appears in the list
The release was granted. Repeat this for all colleagues who should get access to your calendar.
Then, the one to whom you have shared the calendar can add your calendar in his Outlook or Thunderbird, see the following tutorials about:
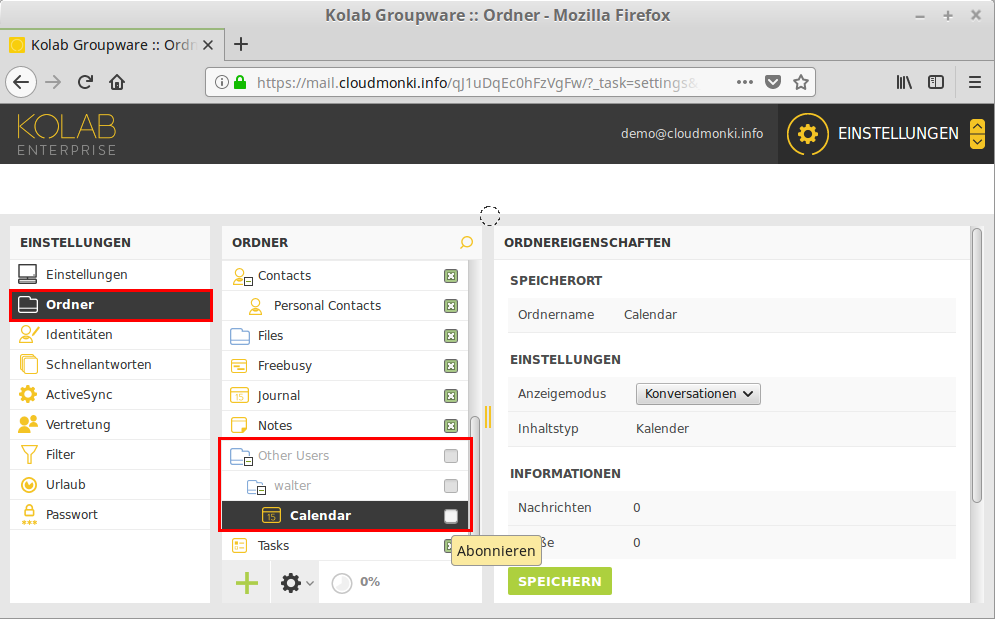
Once a colleague has shared his calendar with you, you must first subscribe to it before you can view the calendar. First log in to the webmail.
Enter username (email address) and password and click on “Login”.
In the menu, select Settings
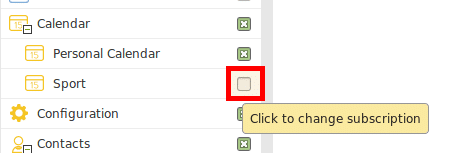
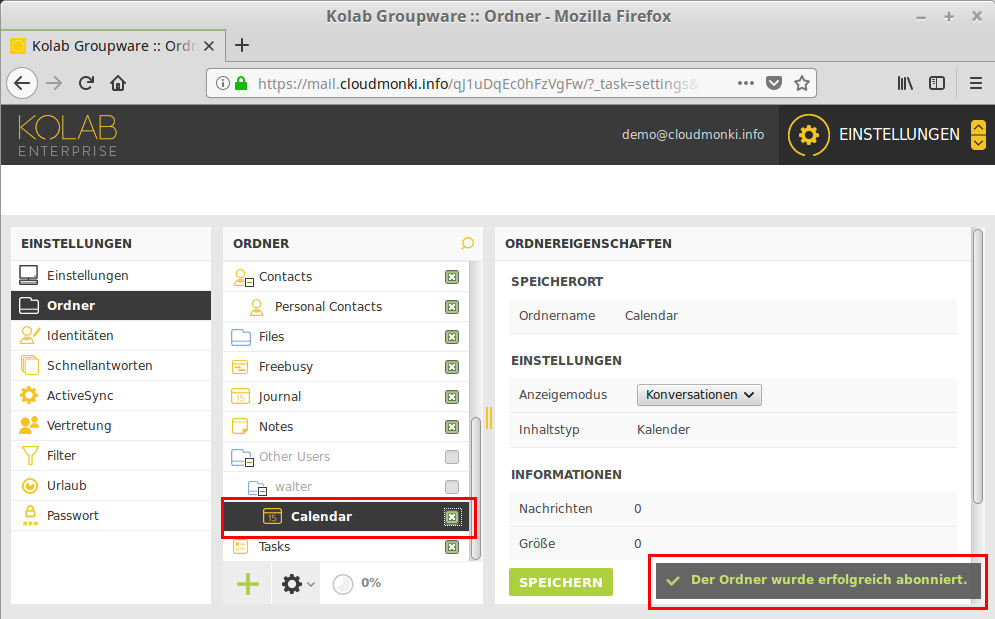
Arrived in the settings in the left menu select the entry “Folder”. In the tab “Folder” next to it choose the area “Other Users” and activate all calendars you want to subscribe to.
Activate the checkbox by clicking on it. You will receive a corresponding success message.
Repeat this for all calendars you want to include later in the webmail calendar or in Thunderbird or Outlook.
Wir stellen Business-Software für Klein- und mittelständische Betriebe zur Verfügung. CloudMonki ist eine Sammlung dieser Applikationen, mit der du schnell und unkompliziert eine eigene Cloud dein Eigen nennen kannst. Wir helfen dir, die richtige Lösung für dich zu finden, richten deine Cloud ein und stellen dir Anleitungen zur Verfügung, damit du schnell mit allen Apps zurecht kommst. Weiters beraten wir dich in puncto Webhosting und Design sowie Business-Applikationen. Du möchtest eine maßgeschneiderte Lösung? Dann kontaktiere uns unverbindlich. We supply business software to SMEs and CloudMonki is a bundle of these apps which enables you to have your own personal cloud. We will help you to find the right solution for you, and provide set up instructions to install your cloud. We can also advise on webhosting and design and if you require a tailor made solution then contact us with no obligation.
Contact
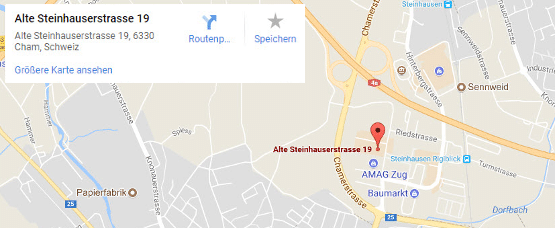
Alte Steinhauser Straße 19, 6330 Cham (CH)
Bitte verwende unser Kontaktformular / Please use our contact form
+41 044 586 20 23
+41 044 586 20 23
Standort
This website uses cookies to provide the best possible functionality. Diese Website nutzt Cookies, um bestmögliche Funktionalität bieten zu können. Cookie settingsACCEPT


Recent Comments