In this tutorial you will learn how to enable automatic photo and video upload when you take pictures or videos on your iOS device.
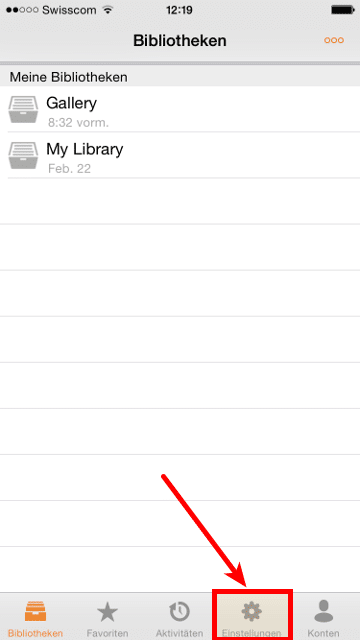
Open the Seafile app an go to the settings section
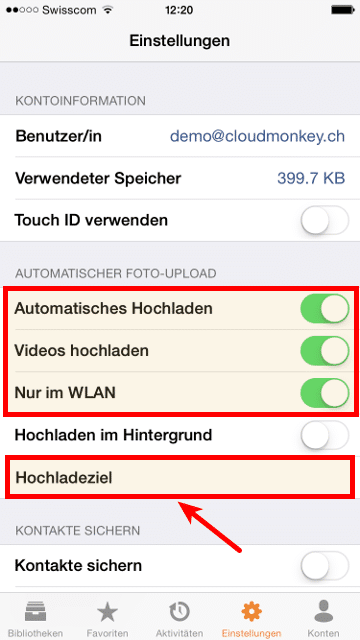
Activate automatic upload for photos and videos. Additionally define if upload should be done only when you are connected with a wifi hotspot
Then click on “Upload target”
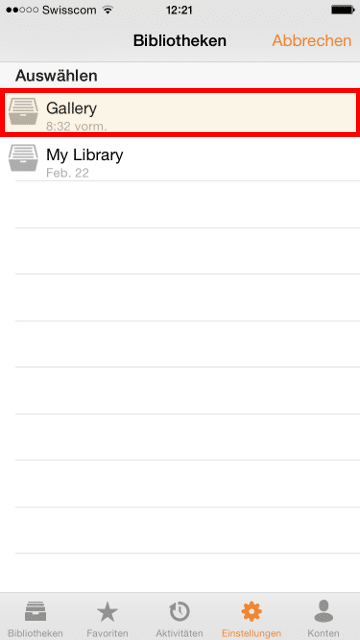
Now select your “Gallery” folder
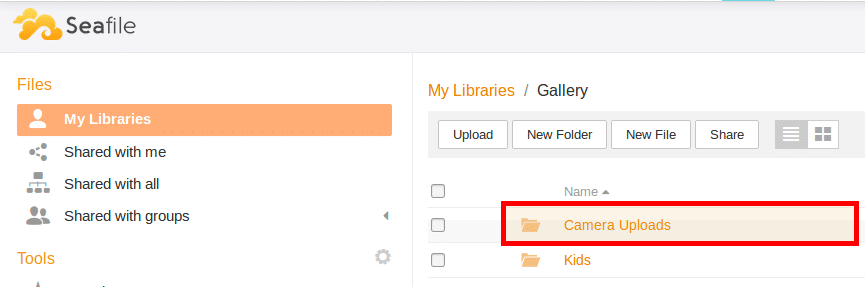
You’re done, inside the “Gallery” library a new folder “Camera uploads” will be created. The upload of just existing pictures and videos starts immediately.
This tutorial describes how to install and do the administration of your cloud client on Windows, MAC and Linux. Please consider that the clients have small differences between the different operating systems, but basically the administration is the same.
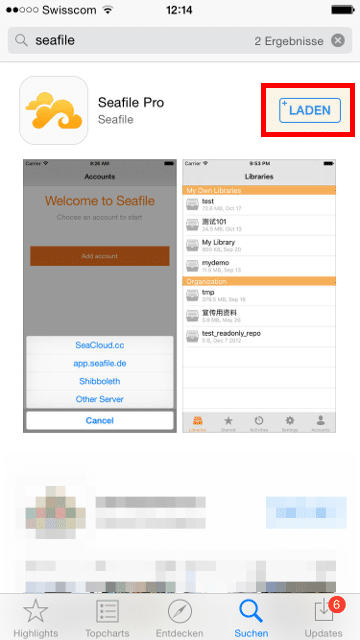
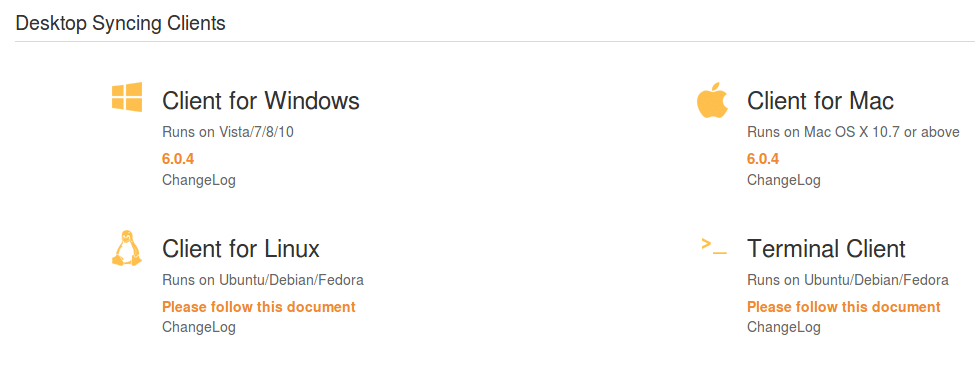
Please consider that you have to install a client software on your PC or MAC, you can download the appropriate client version from our cloud software partner Seafile
When downloaded your appriopriate client run installation.
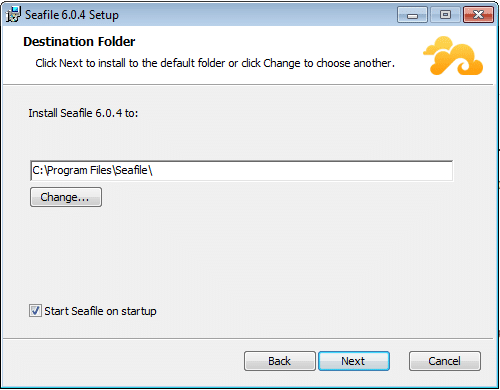
Click Next!
You can leave the default values as suggested
Click Next / Install
If you receive any security warnings, please confirm it with “Yes”
After successfull installation click “Finish”!
After installation automatically the client starts the initialization. Please choose the basic folder for sychronization. In this selected folder in future your select cloud libraries for sync will be downloaded in it. This can be chanded again after initialization.
Per default the home directory is choosed as basic folder. Click Next.
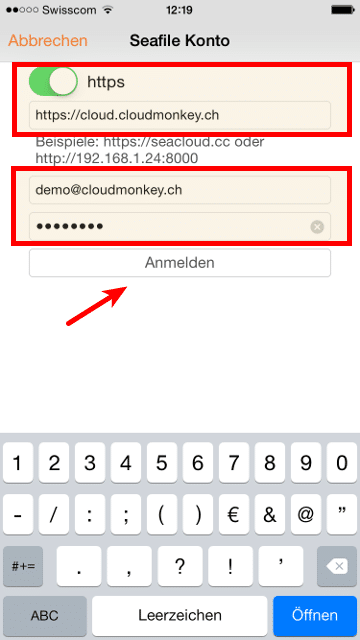
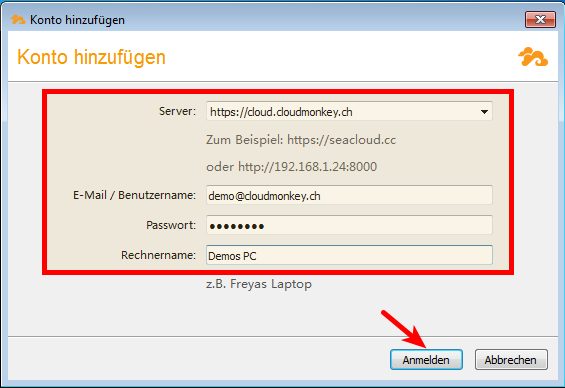
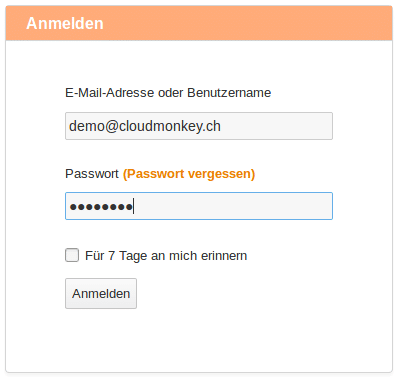
Now insert your connection credentials. Please note to change the servername with your assigned server instance. Insert your username and password.
Then click “Login”
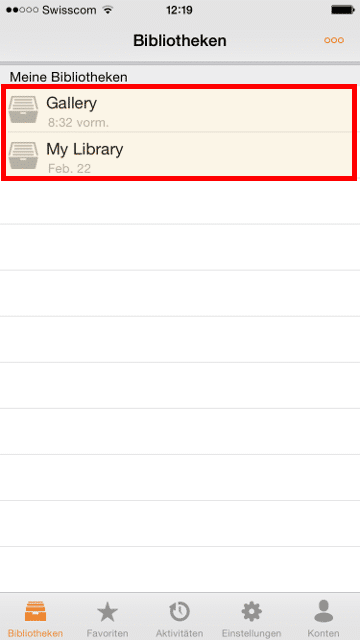
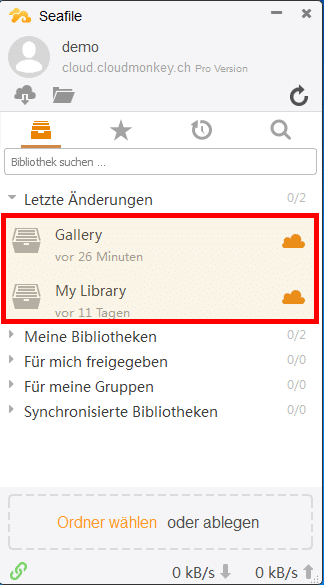
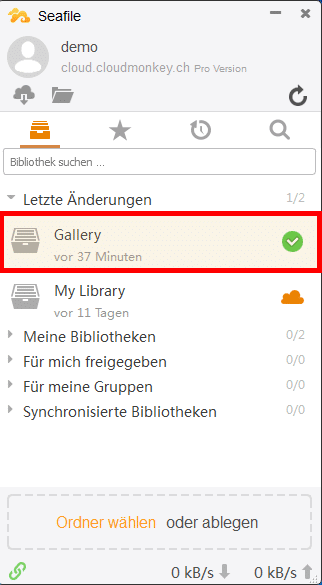
The synchronization client now will start and you will see that the client shows you all content of the cloud. In This example 2 libraries: “Gallery” and “My Libary”
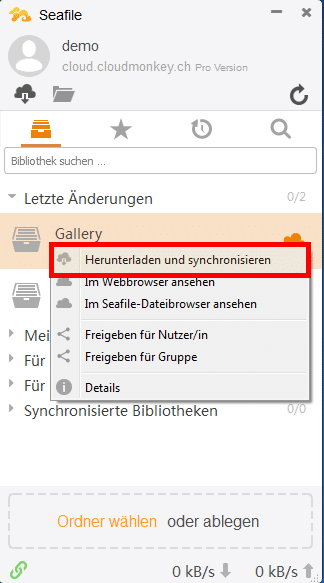
Now you can choose which library should be synced with your local client. Therefore make rightclick on the library and choose “Download and synchronize”
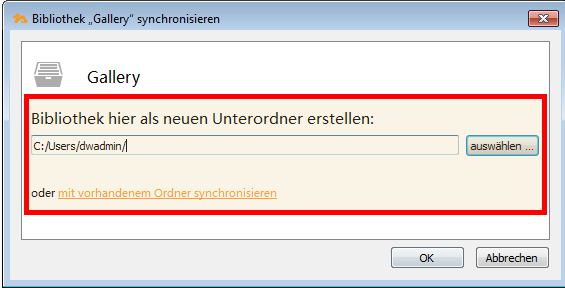
Now the client will ask your where is the destination of your selected library. Please type the name the path where the new folder should be created or select an existing folder which should be synced with your selected cloud library.
Then click ok
In your cloud client now you will see that the library is successfully synchronized
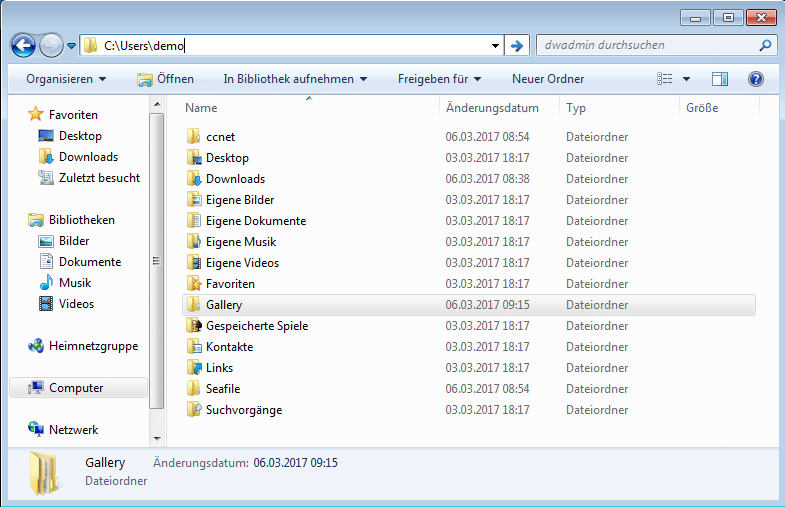
After synchronization you will find the selected libraries as folders under your home directory, or where you have choosed to sync
Attention: Whit this methodology is possible only to sync entire libraries. If you are interested to sync only subfolders of a library please check this HowTo
In this tutorial is described the basic administration of libraries and folders.
First of all you have to login into your Cloud Administration. Pay attention to use your personal cloud credentials!
Login with your username and password
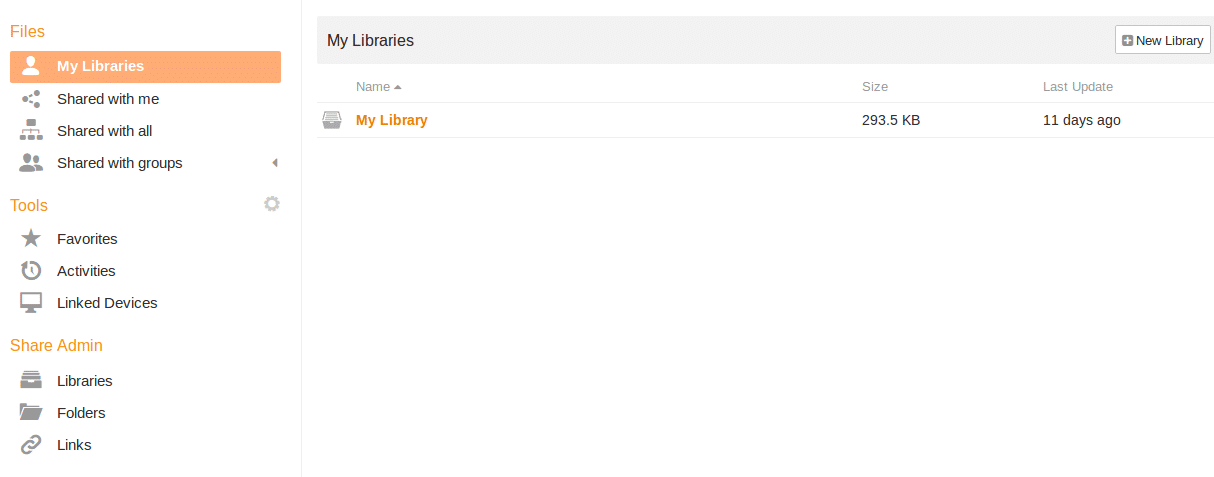
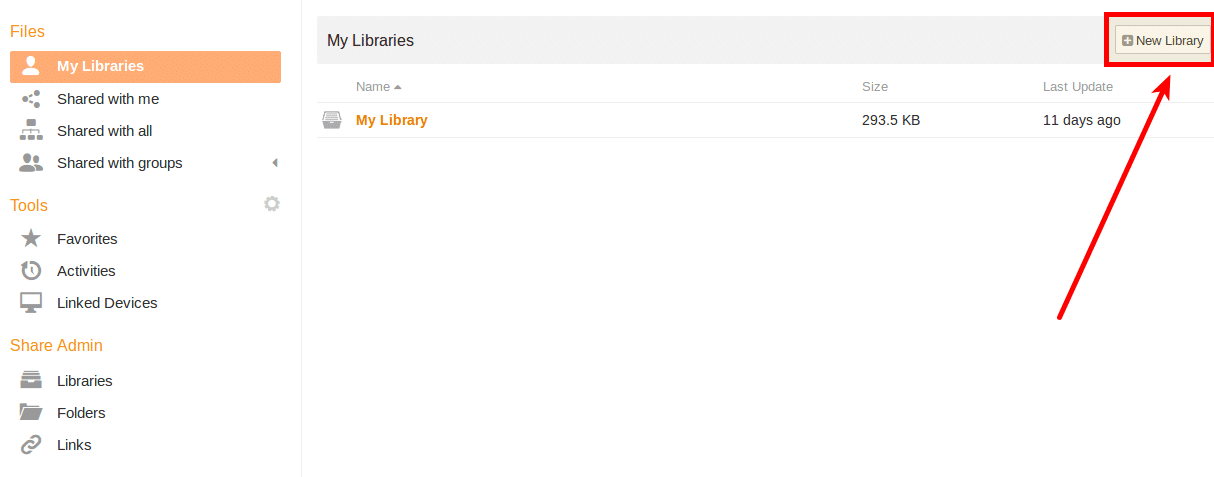
Your administration plattform will open and on first login it looks like that:
First of all create new library “Gallery” for all images you will save in future in your private cloud
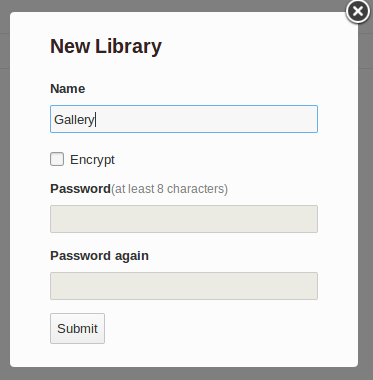
Type the name for the new library, there is an option for encryption, it is recommended to encrypt only libraries with very sensitive data. (Please note: You have to type a password for encryption, if you loose this password you loose also all your encrypted data! Be careful!
Click submit, your new library is created, now lets go inside and create some folders.
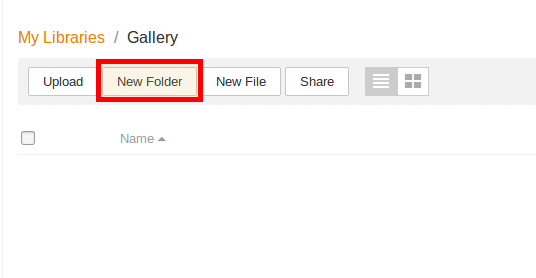
Click on “New Folder”
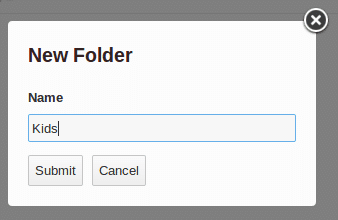
Type the name of your new folder and click Submit
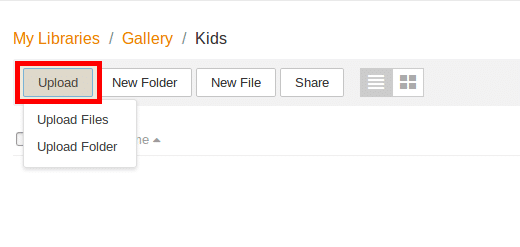
Now click Upload, here now you can directly upload single files all whole folders
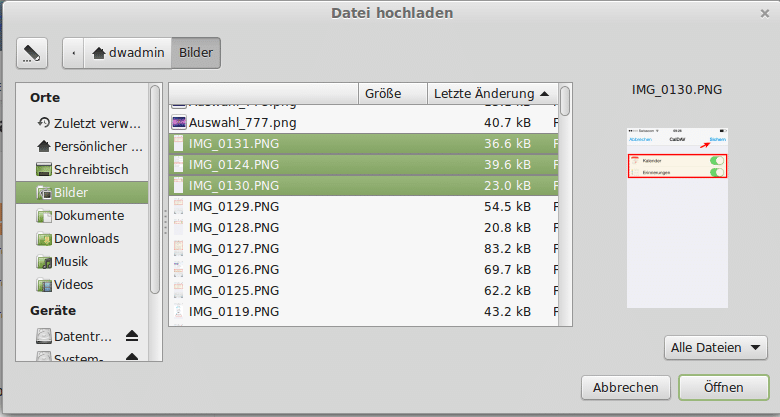
Now select 1 or multiple files, then confirm
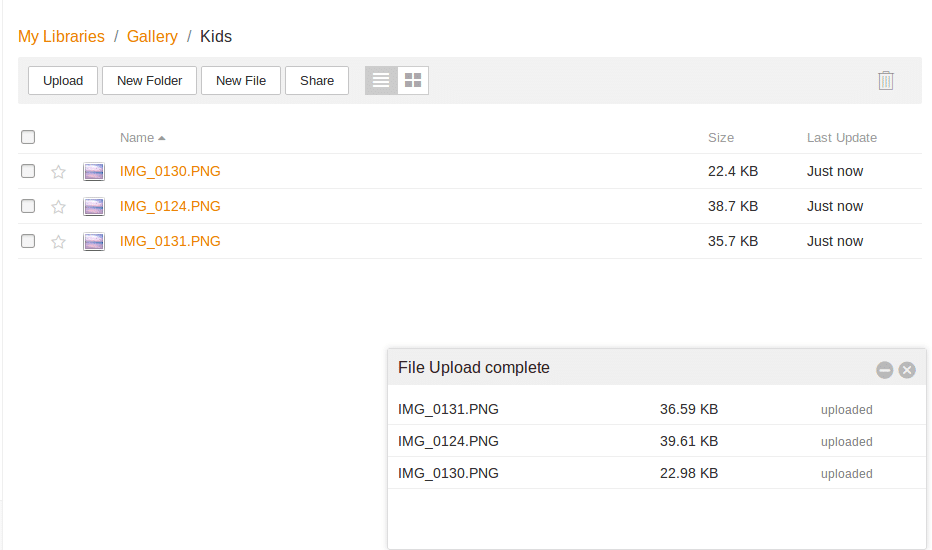
Congratulations, you saved your first data in your new private Cloudmonki cloud
This tutorial describes how to setup a Carddav addressbooks on Android mobile devices. On Android Carddav is not supported natively, but there are existing a lot of nice apps which fullfill our needs.
One of this app is the Carddav app from Marten Gajda, you can find it in the Google Play Store
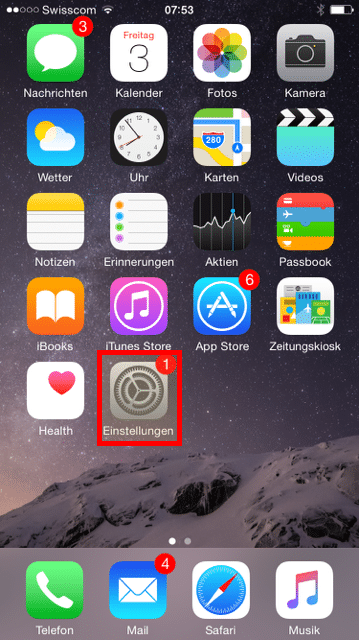
To start we need to create a new account. Go to the settings panel
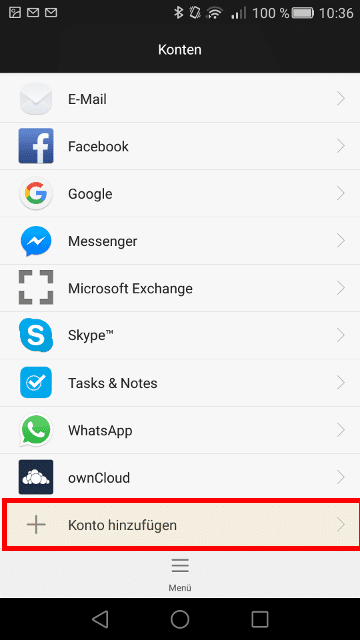
Go to the accounts management
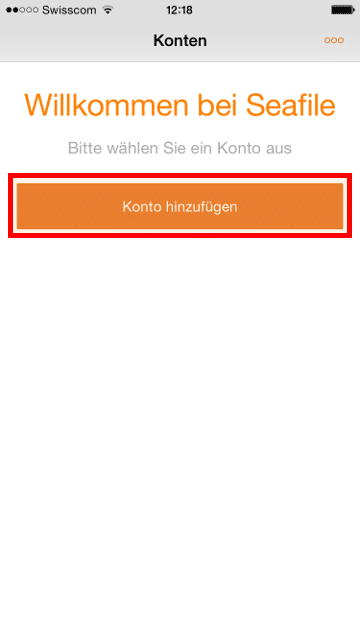
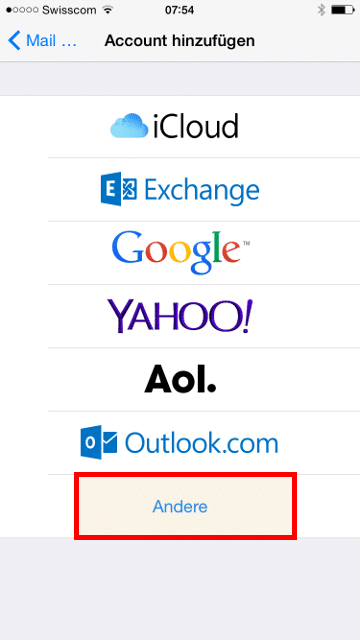
Select “Add account”
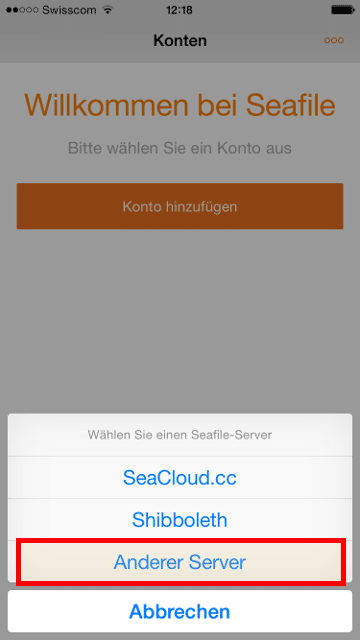
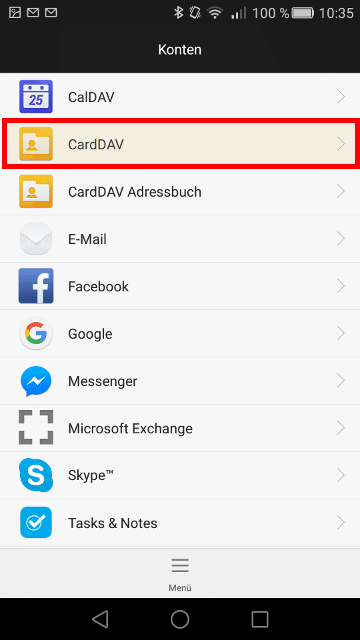
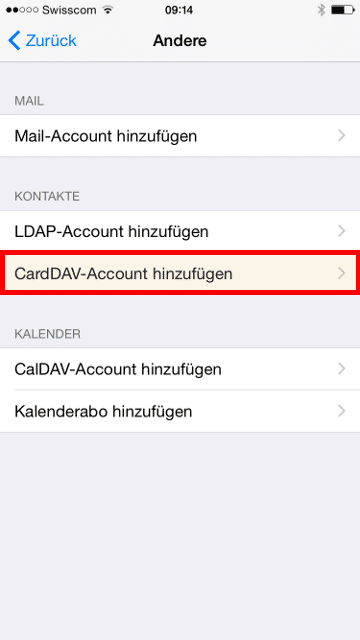
Select “CardDAV” as account type
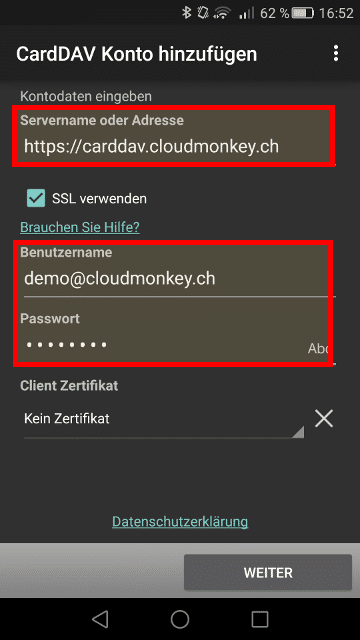
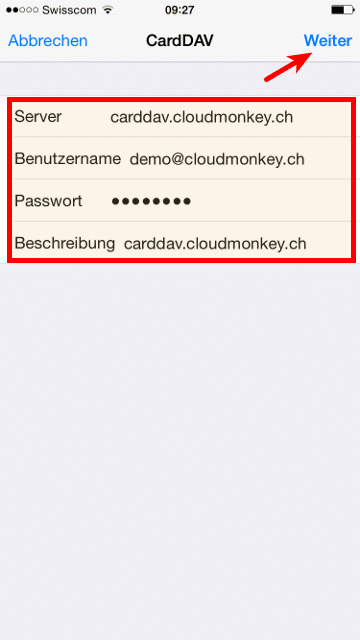
Insert your Carddav server name, your username and your password
Then click Next.
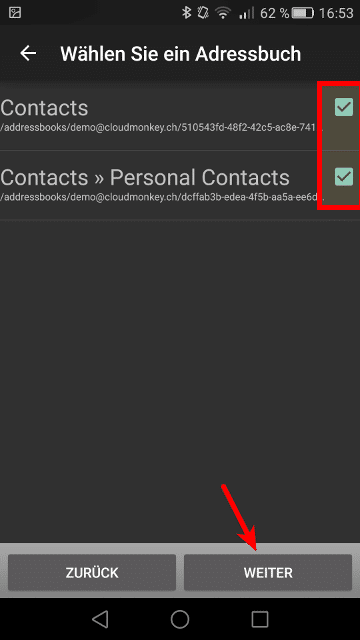
When your credentials are inserted correctly you will see the following screen.
Please select now which address books you want to synchronize with your mobile device.
Click Next.
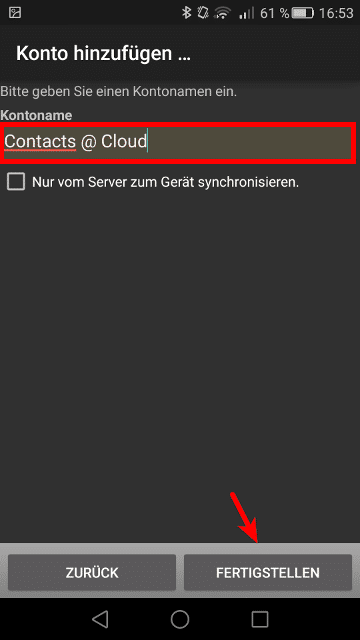
Choose a name for the new created account, then click Finish!
The easiest way to setup your collaboration plattform on Android is with Exchange. This enables the full synchronization of email, contacts and calendars with your mobile device.
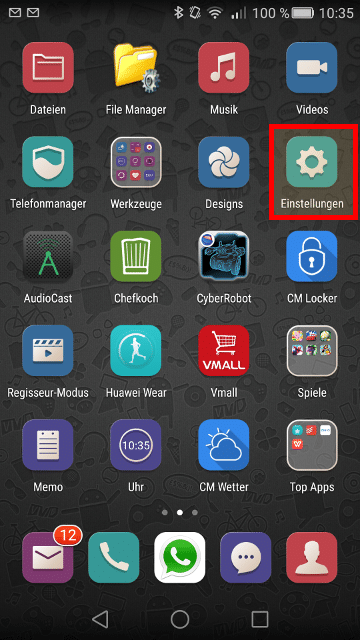
To start we need to create a new account. Go to the settings panel
Go to the accounts management
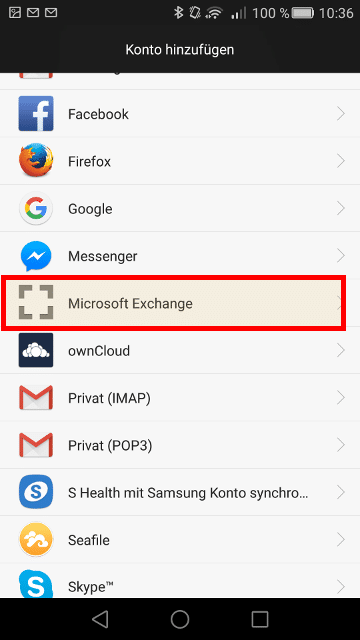
Select “Add account”
Select “Exchange” as account type
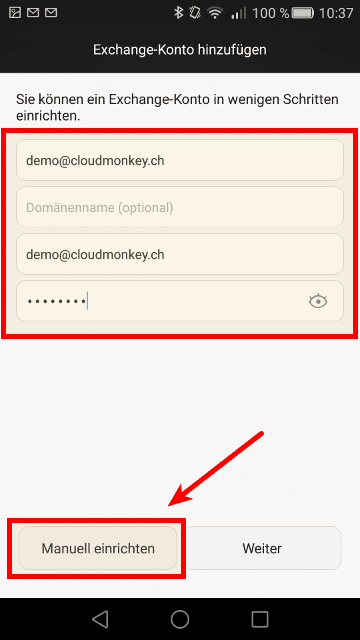
Insert your email address, your username and your password
Then click Next for automatic data completition. It is recommended to select manual configuration
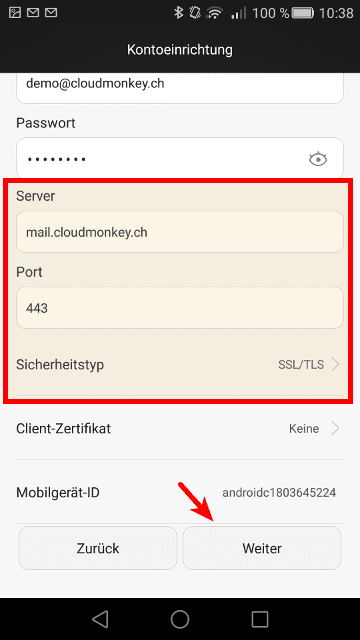
Now complete the informations with Exchange Server, port and security type
Then click Next. The account settings will be proven.
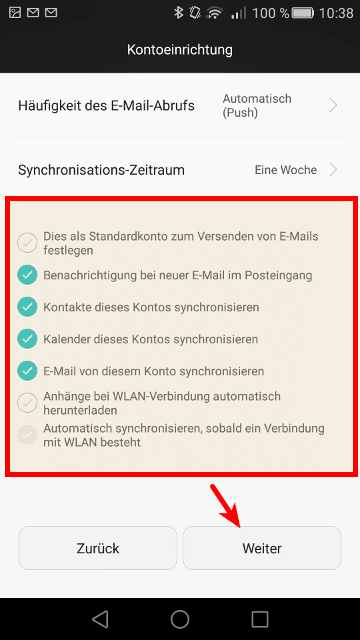
When your credentials are inserted correctly you will see the following screen.
Please select now which elements you want to synchronize with your mobile device.
Click Next.
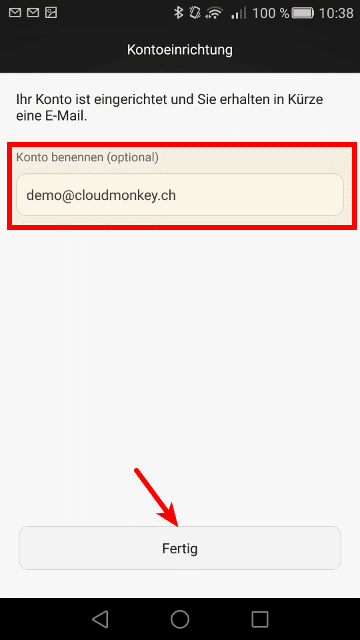
Choose a name for the new created account, then click Finish!
The easiest way to setup your collaboration plattform on iPhone or iPad is with Exchange. This enables the full synchronization of email, contacts, calendars, task and notes with your mobile device.
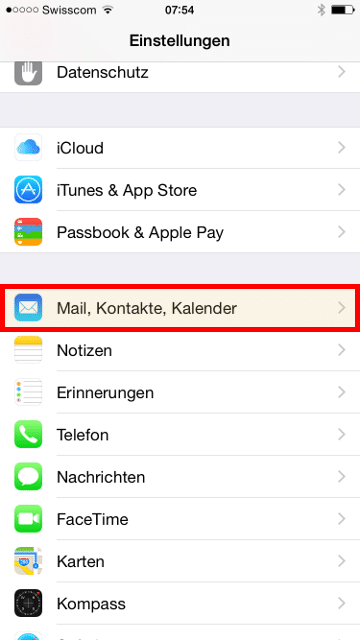
To start we need to create a new account. Go to the settings panel
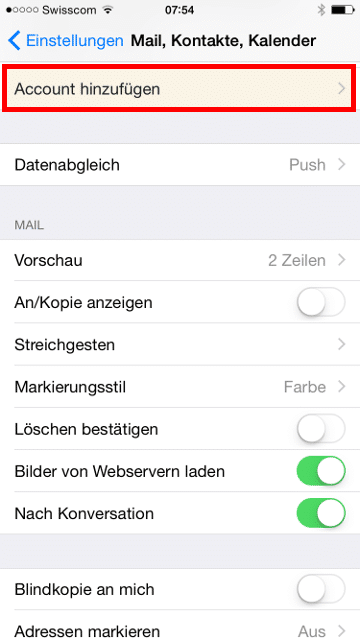
Then open the email configuration
Now “Add new account”
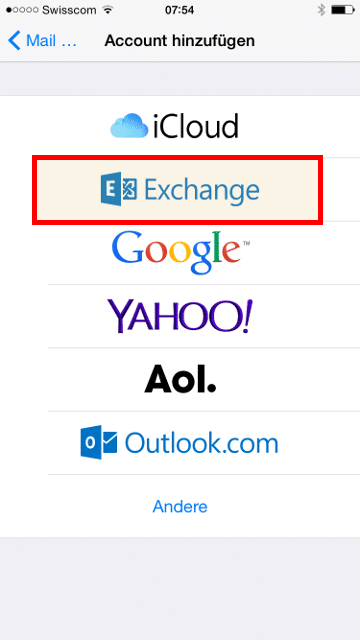
Select “Exchange” as account type
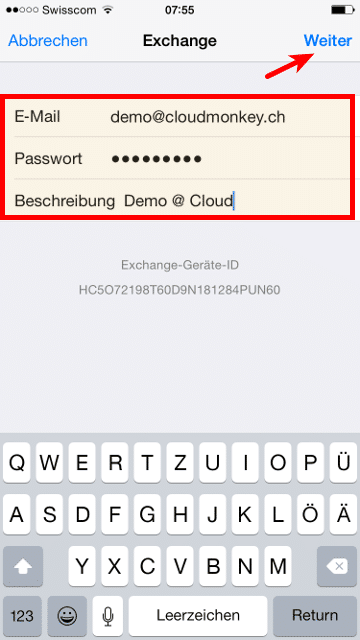
Insert your email address, your password and choose for the account
Then click Next.
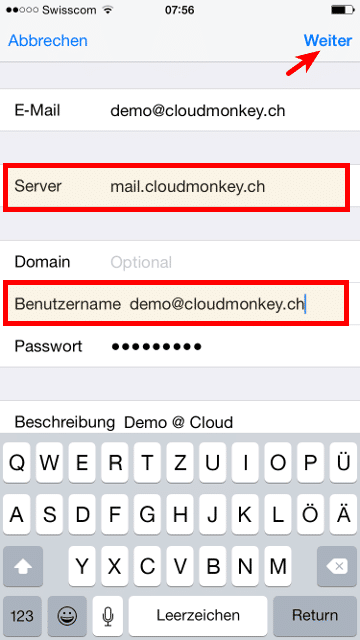
Now complete the informations with Exchange Server and User account**
Then click Next. The account settings will be proven.
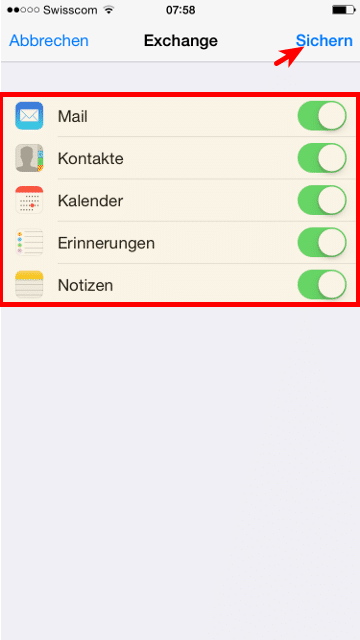
When your credentials are inserted correctly you will see the following screen.
Please select now which elements you want to synchronize with your mobile device.
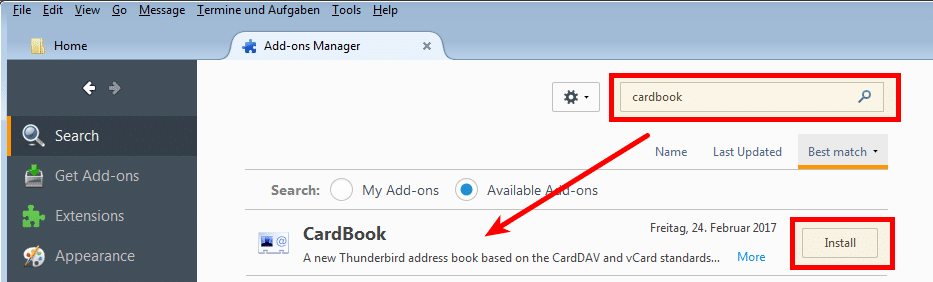
To enable the contacts synchronization via Carddav in Thunderbird an extension is needed. The “Cardbook” extension can be downloaded directl from Extension repository.
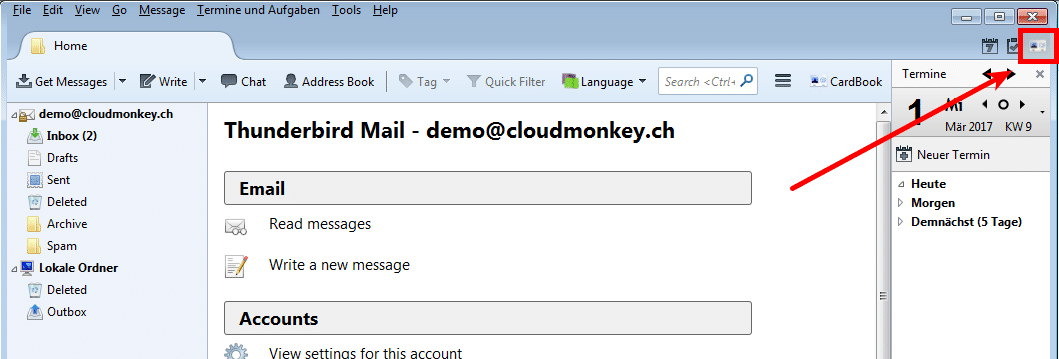
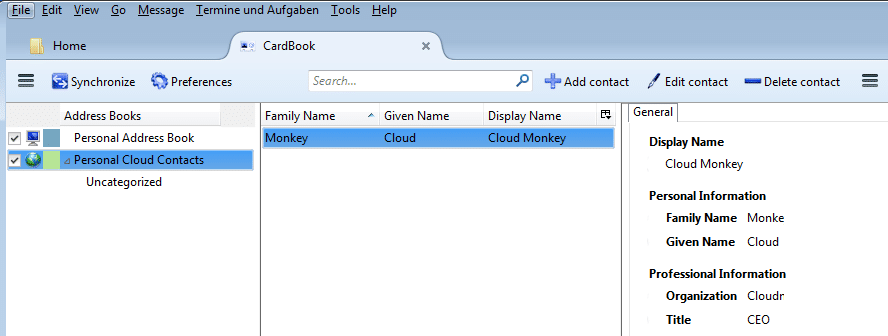
After installation restart Thunderbird. Then switch to the cardbook tab
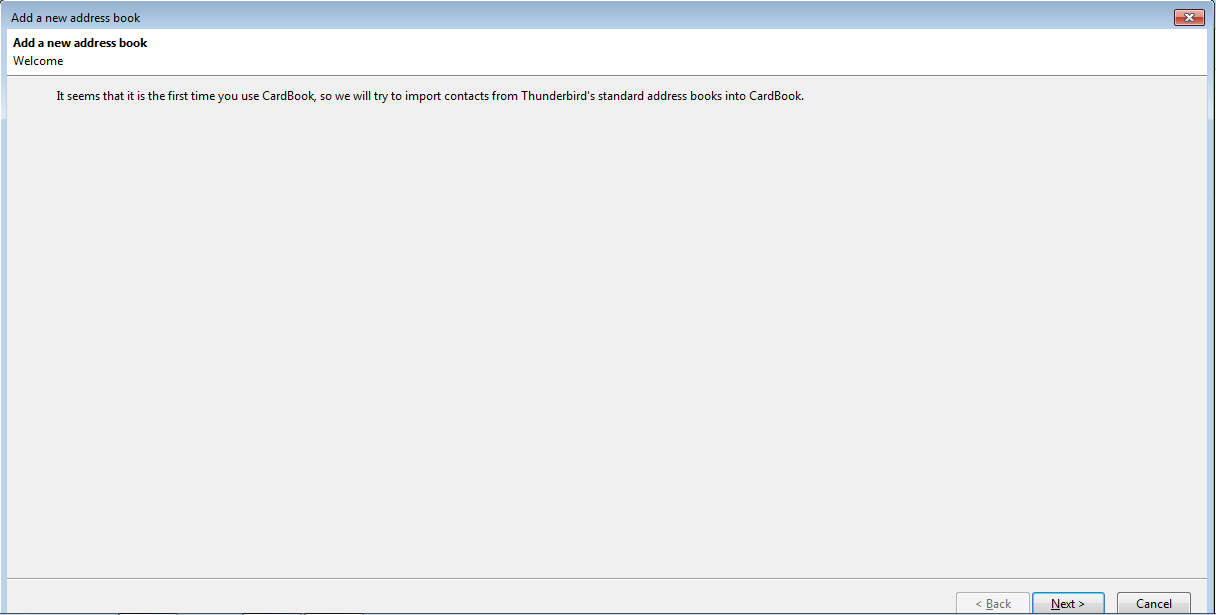
Automatically it will start the Address Book Setup
Click Next.
Now choose which addressbooks to use per default. I personally I am not working with collected addresses, so I deselect this entry.
Click Next and then Finish.
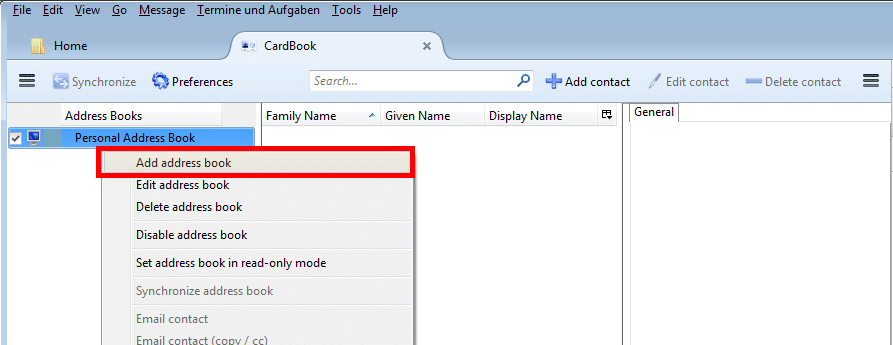
Now on the left pane click right on the mouse and select “Add address book”
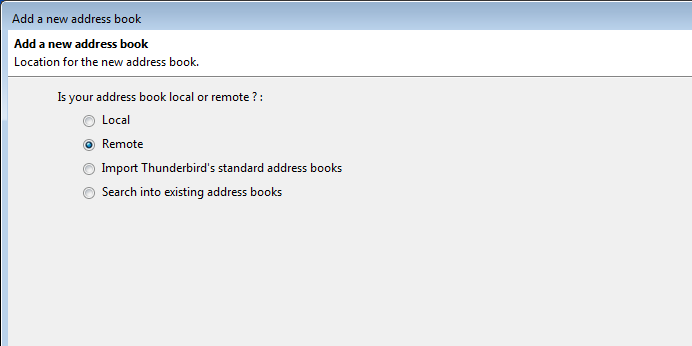
Now select Remote Addressbook
Click Next.
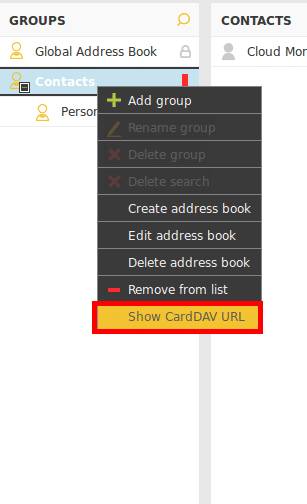
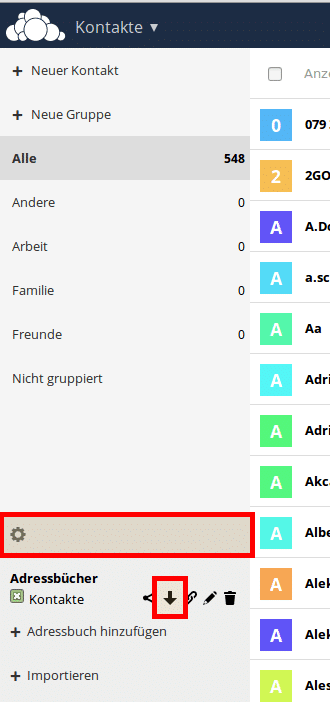
Now you need to open your Webmail and go to the Contacts section. When you are there select the contacts folder you want to sync with Thunderbird and then click on “Show Carddav URL” button to find out the URL of the calendar.
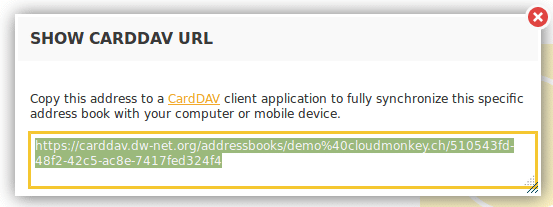
A popup will open with following informations
Copy the Carddav URL to the clipboard and insert it into the Addressbook setup
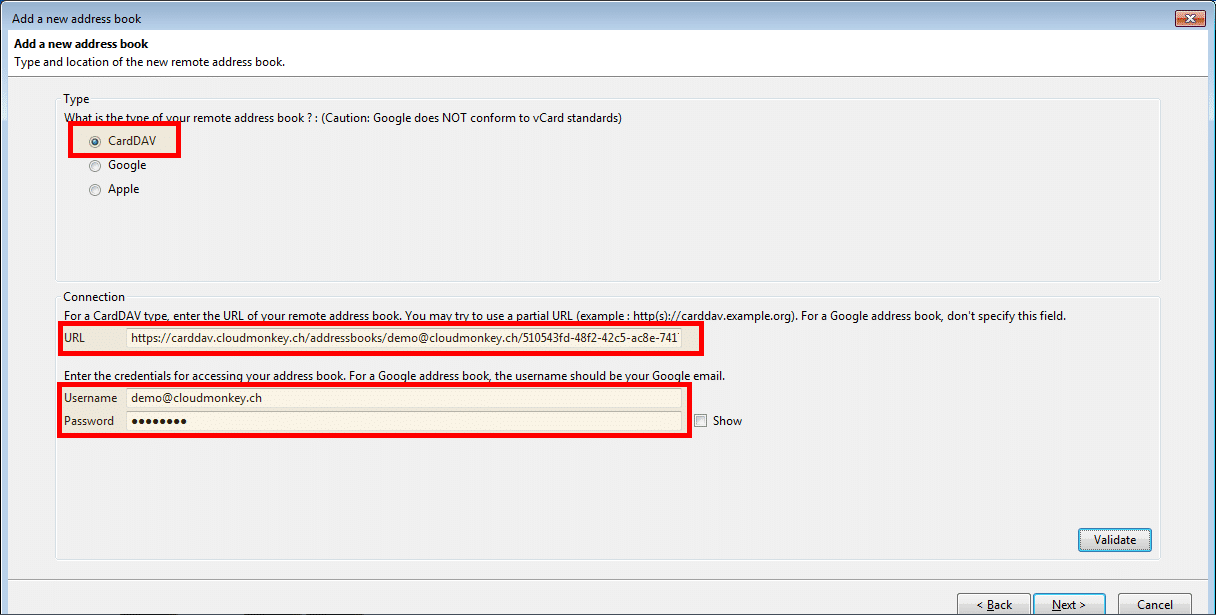
Select CardDAV as type. Insert the URL previously selected and type username and password.
Click on validate, if all ok click Next.
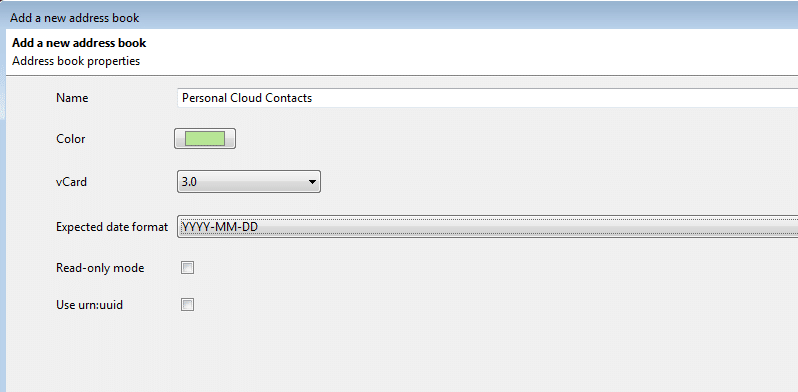
Choose a name and a color for the new Address book.
First of all download your contacts from the old system, in this example from Owncloud. The format should be vCard or CSV (comma separated)
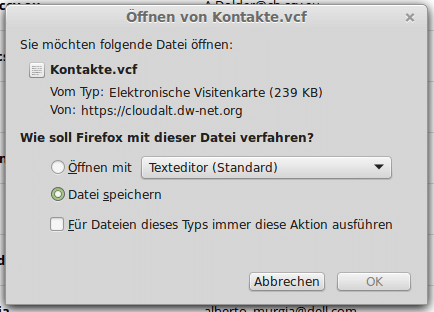
Save the contacts file on your harddisk
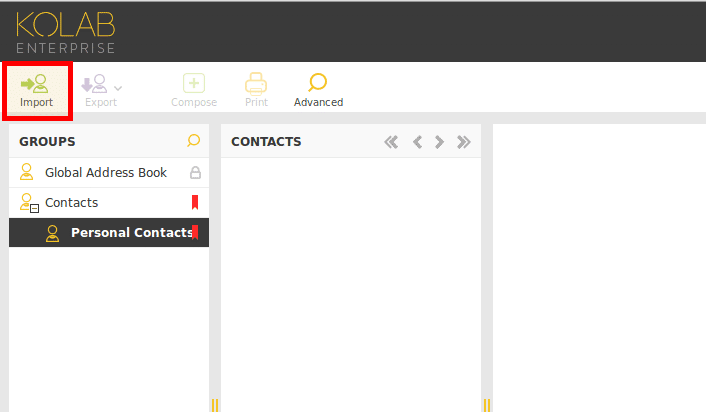
Now you need to open your Webmail and go to the Contacts section. There click on Import on the top of the screen.
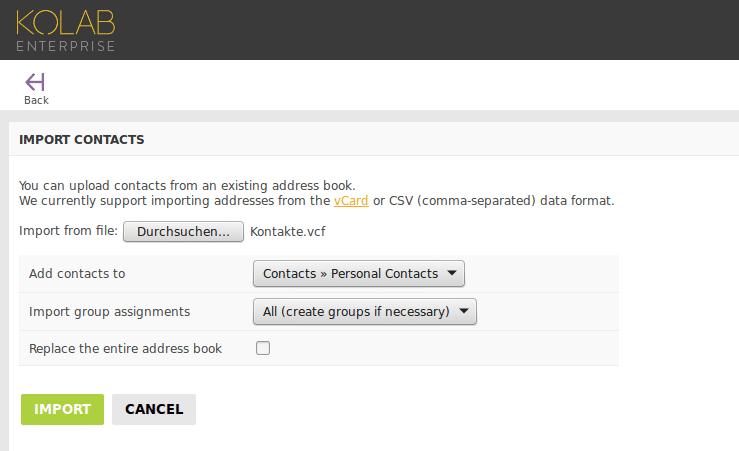
In the upcoming screen select the file previously downloaded, select the addressbook where to import your contacts, select the group setting and define if your existing contacts should be replaced
Now click Import
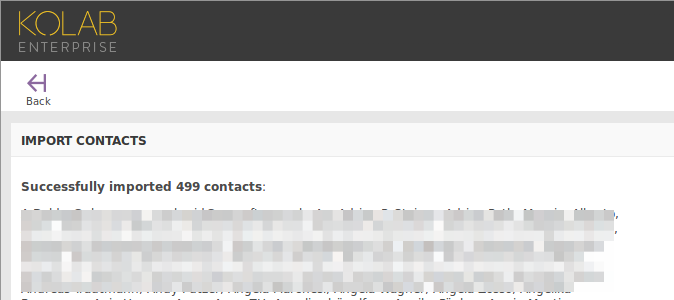
Depending on the amount of contacts the import need some time
At the end the import log schows you which contacts were imported successfully and which one was skipped due to a problem. For the skipped one you need to interact manually.
Wir stellen Business-Software für Klein- und mittelständische Betriebe zur Verfügung. CloudMonki ist eine Sammlung dieser Applikationen, mit der du schnell und unkompliziert eine eigene Cloud dein Eigen nennen kannst. Wir helfen dir, die richtige Lösung für dich zu finden, richten deine Cloud ein und stellen dir Anleitungen zur Verfügung, damit du schnell mit allen Apps zurecht kommst. Weiters beraten wir dich in puncto Webhosting und Design sowie Business-Applikationen. Du möchtest eine maßgeschneiderte Lösung? Dann kontaktiere uns unverbindlich. We supply business software to SMEs and CloudMonki is a bundle of these apps which enables you to have your own personal cloud. We will help you to find the right solution for you, and provide set up instructions to install your cloud. We can also advise on webhosting and design and if you require a tailor made solution then contact us with no obligation.
Contact
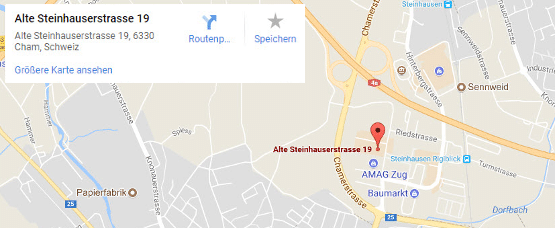
Alte Steinhauser Straße 19, 6330 Cham (CH)
Bitte verwende unser Kontaktformular / Please use our contact form
+41 044 586 20 23
+41 044 586 20 23
Standort
This website uses cookies to provide the best possible functionality. Diese Website nutzt Cookies, um bestmögliche Funktionalität bieten zu können. Cookie settingsACCEPT